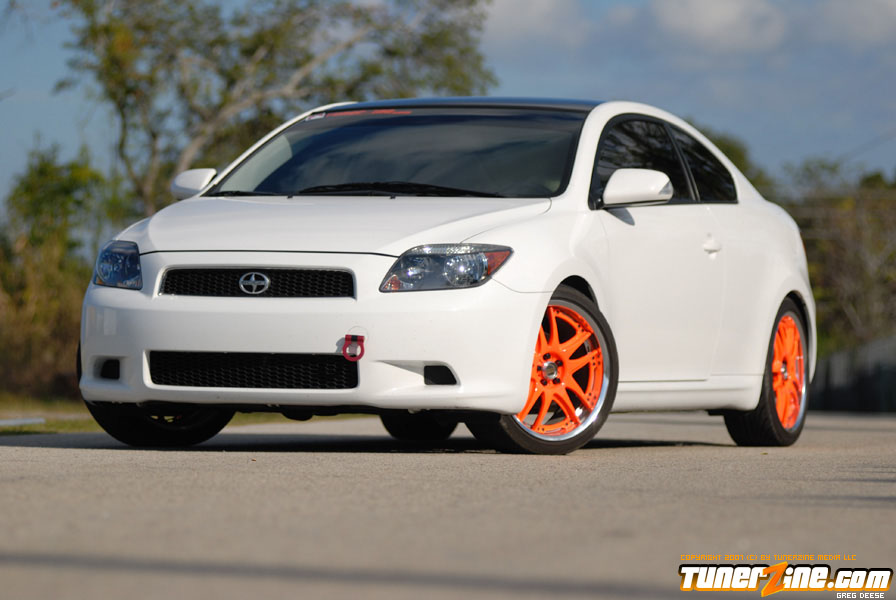
It’s no secret that Scion’s newest line of cars have been extremely successful in hitting the sport compact market. Centered around customization, Scion’s xA, xB and tC model has been filling the halls of shows and the drag strip with plenty of fame. Tunerzine.com’s photographer Greg Deese is no stranger to building cars. Having done several magazine featured project we couldn’t help but cover his newest tC project build.
Follow along as Greg and Tunerzine.com explores the tC’s aftermarket outfitting this project car with some of the highest quality parts out there. Our first tech article features an NST pulley set that was specially engraved and fully custom for our project tC. We’d also like to thank all the sponsors on board: NST, TWM Performance, Kami Speed, RacingSolution.com, Project mU, ARC, C-One Motorsport and stsuspensions.com.
For more information on NST’s top quality products for your car, check out www.nonstoptuning.com!
Thanks to our Sponsors:

NonStopTuning, TWM Performance, KamiSpeed, Racing Solution, Mackin Industries, C One Motorsport, ST Suspension
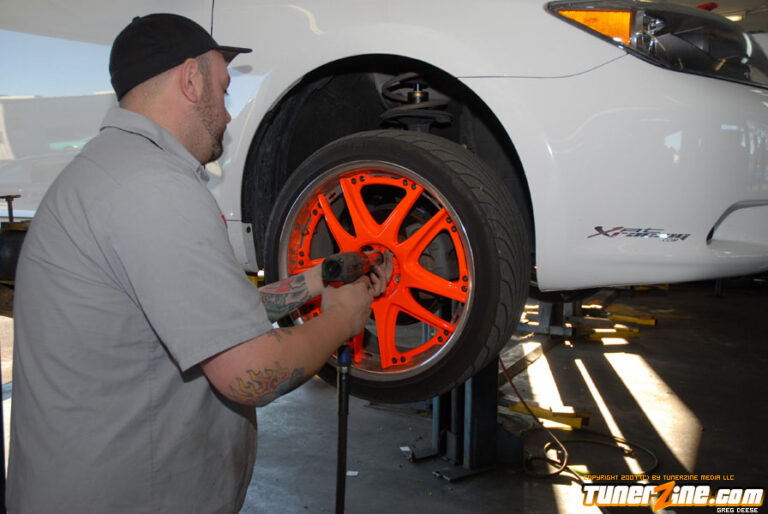
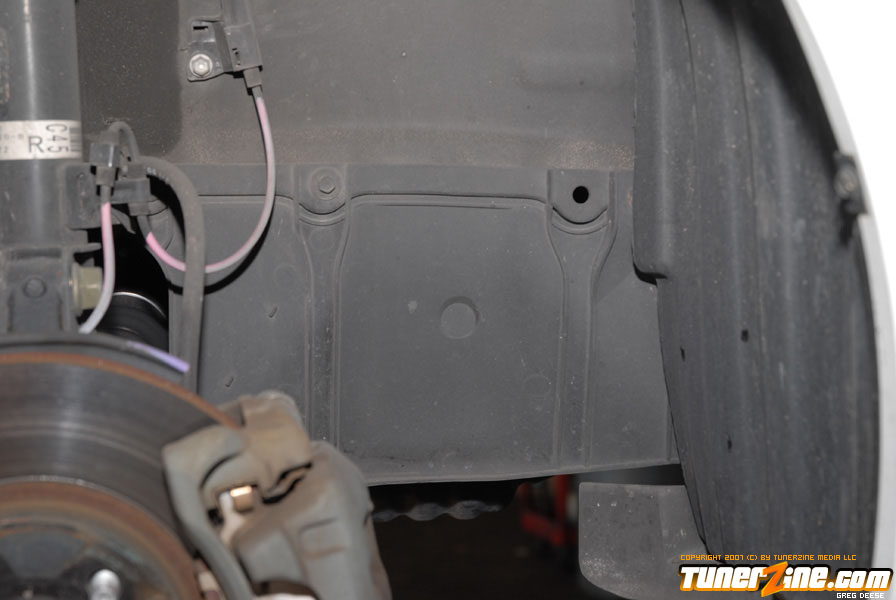
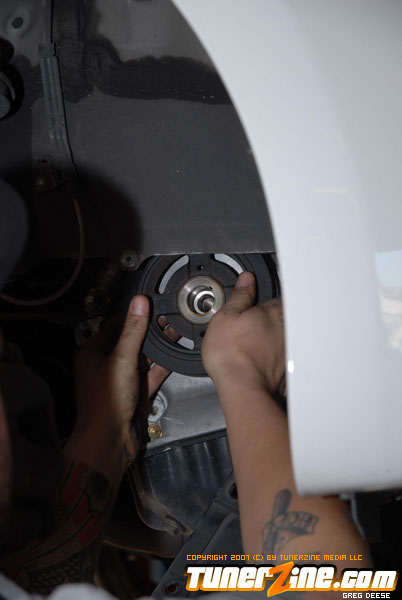
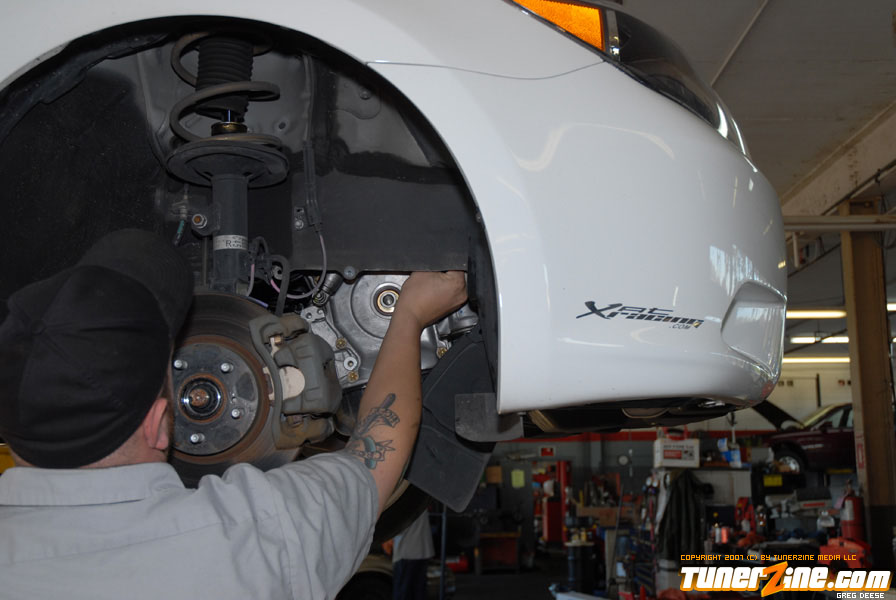
First you want to locate the belt tensionsor and loosing it. Once it’s loosen, You will want to remove the passenager side front wheel. Once the wheels is removed, you will see a plastic panel with a 10mm bold holding it on. Once panel is removed, it will expose the crank pulley.
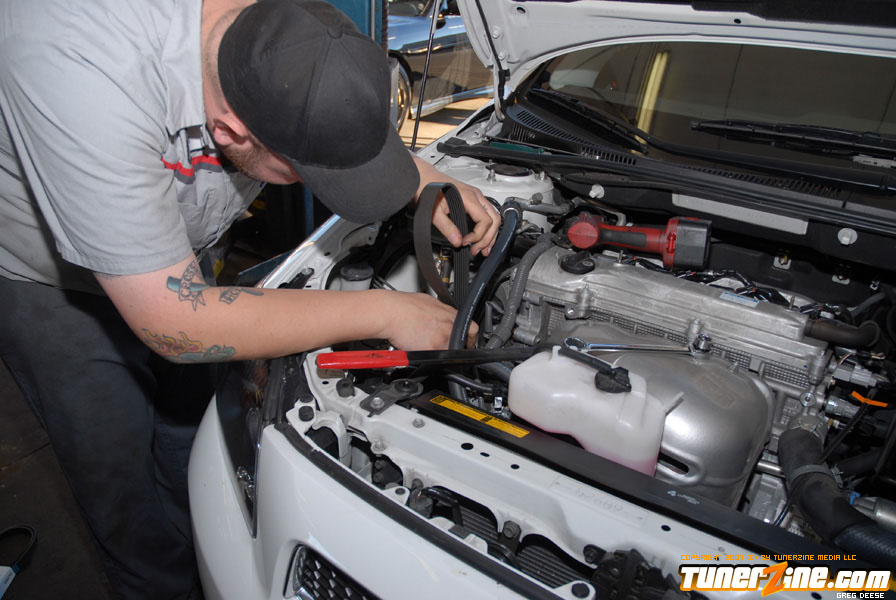
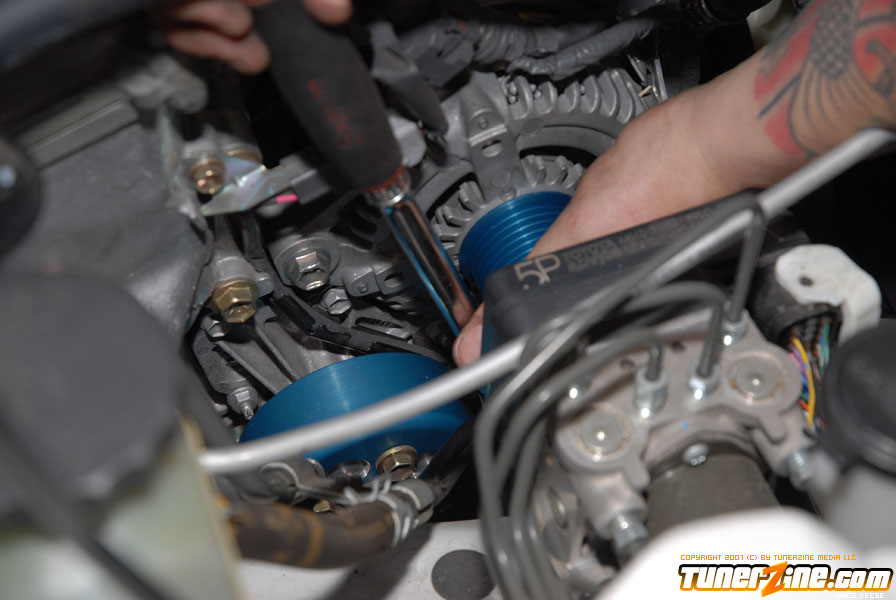
With the crank pulley begin to work off the belt from above so where its of all the pulleys and take it off. You will need a totally different pulley for reinstall of the new NST pulleys(belt # – K060747). Use a 19mm socket with air gun to remove the crank pulley bolt. Slide off the crank pulley, if any trouble you can rent a pulley removal tool from any hardware store.
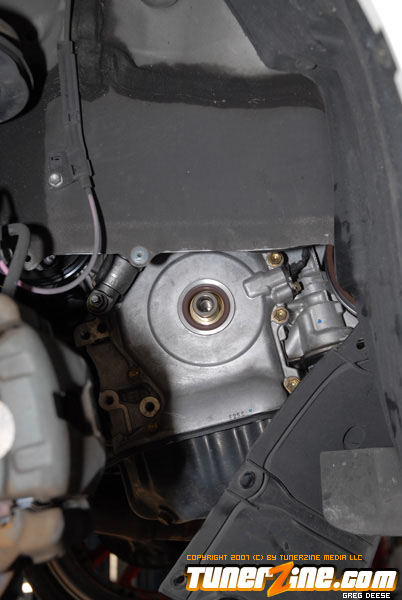
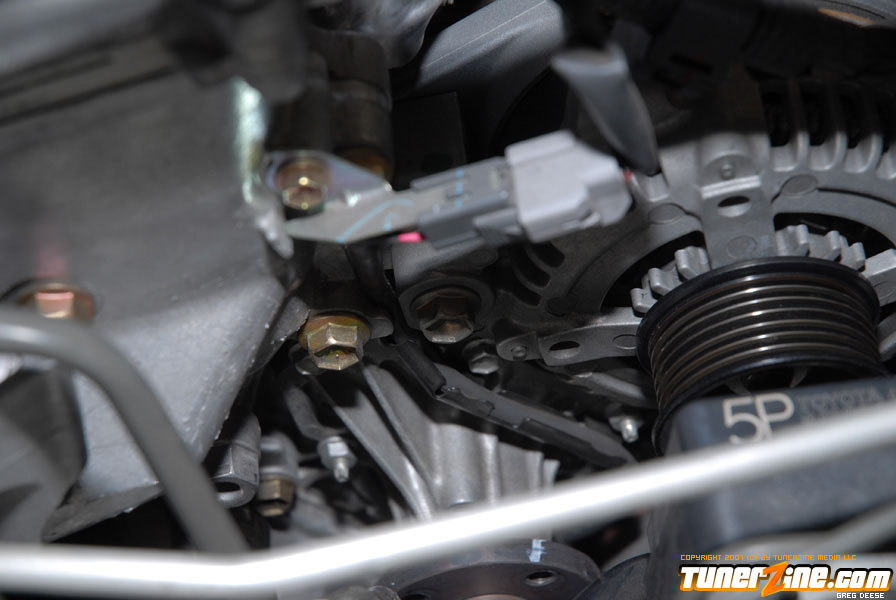
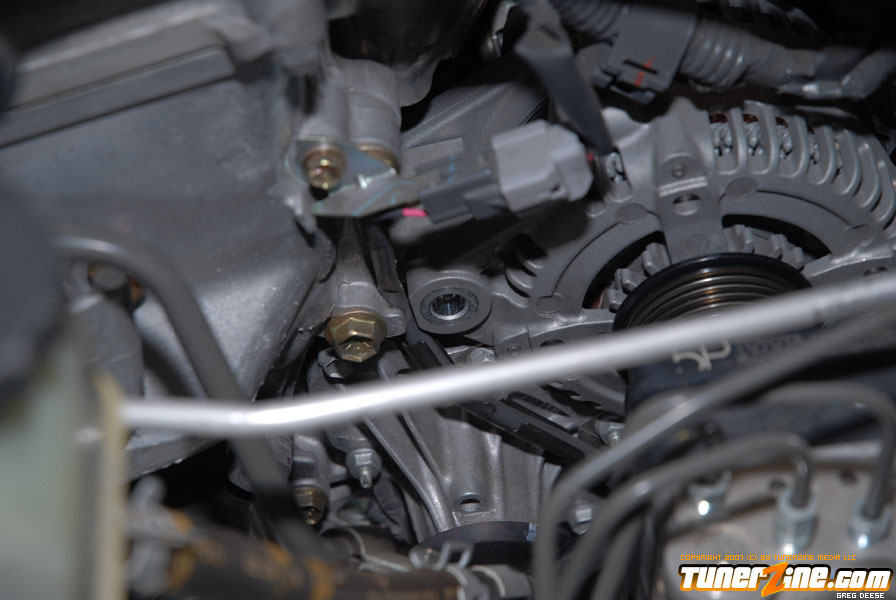
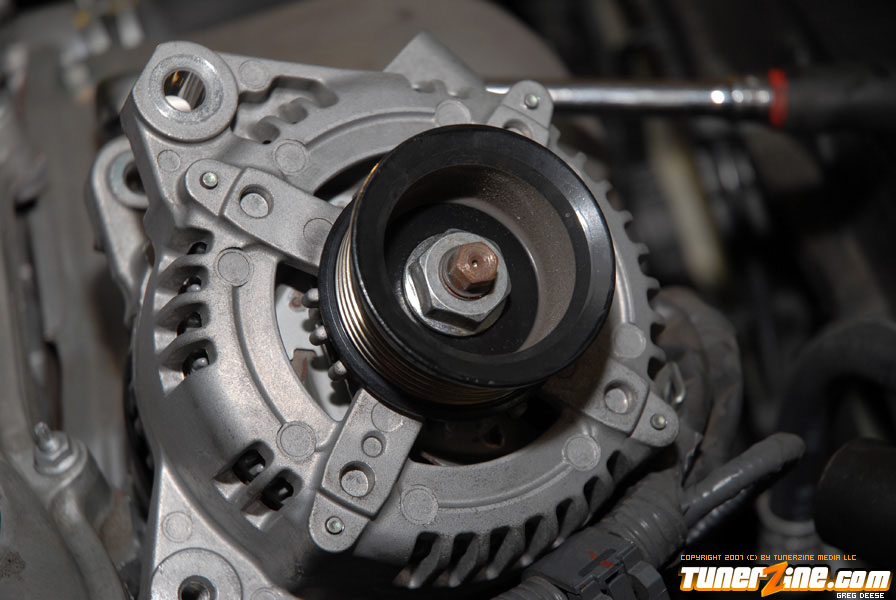
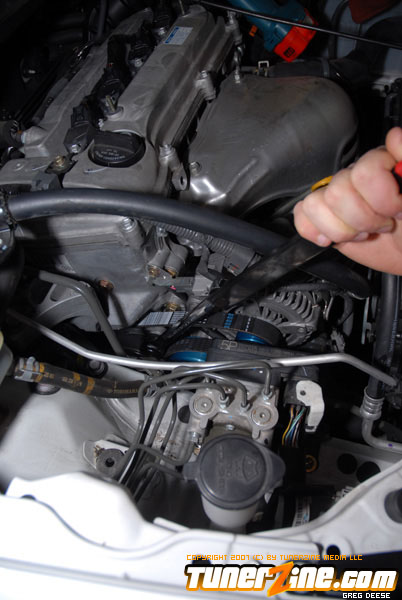
After the crank pulley is removed, you will want to remove the alternator pulley. To do so you will first unclip the plug attached to the alternator along with the 10mm bolt holding on the bracket.Once that is done you have one bolt that is a 14mm bolt closest to the block uptop. After the top bolt is removed you have a smaller 12mm bolt underneath, which will take some patient being almost completely hidden from above. It took awhile to shake the alternator loose to get it out.
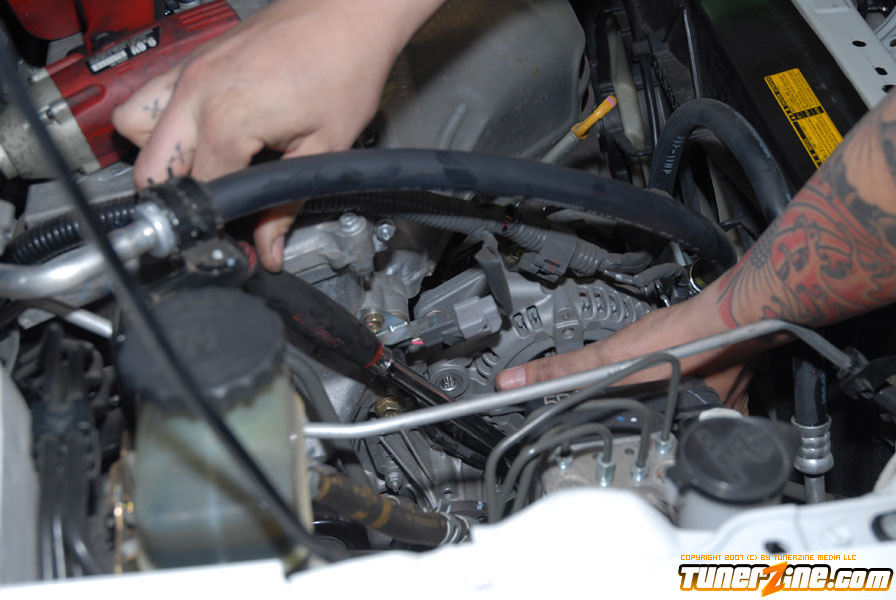
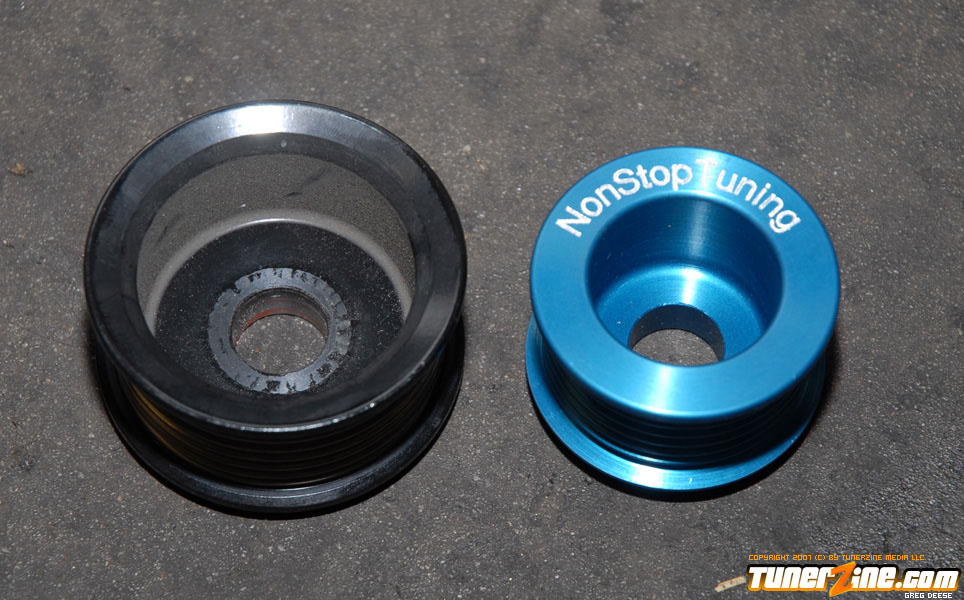
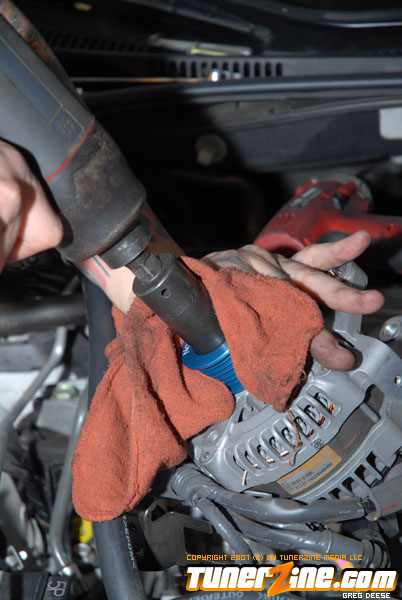
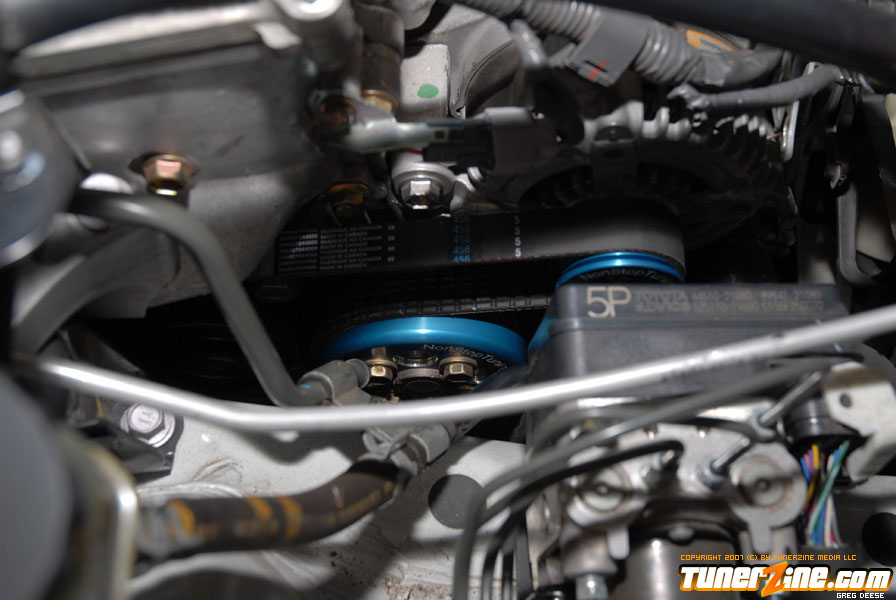
Once the alterntor was out, a 22mm socket is needed to remove the pulley. The NST alternator pulley is only 3oz compared to OEM 9.6oz. After the NST pulley is on, simply tighten it back on. Easiest way is to hold it down with a towl or rag around the pulley so it doesn’t spin while you try to tighten it.
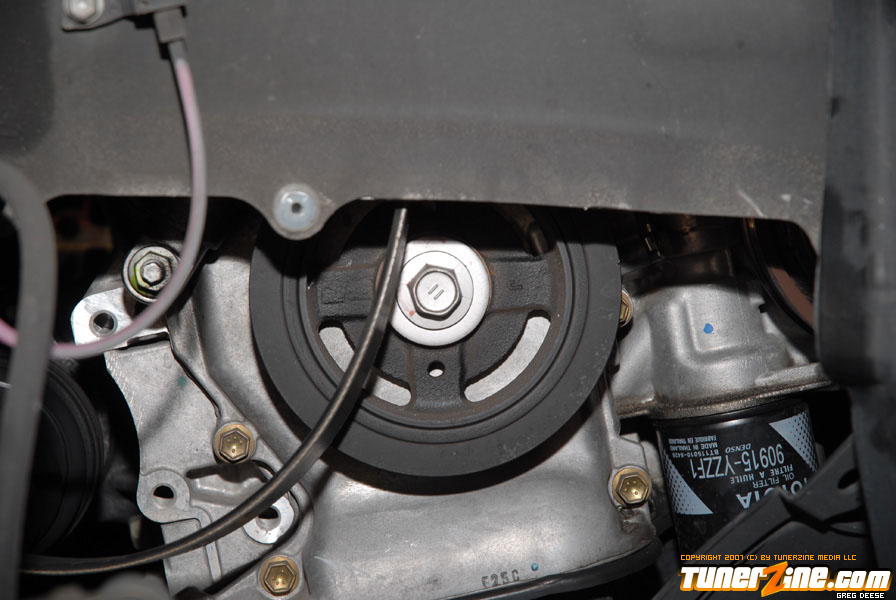
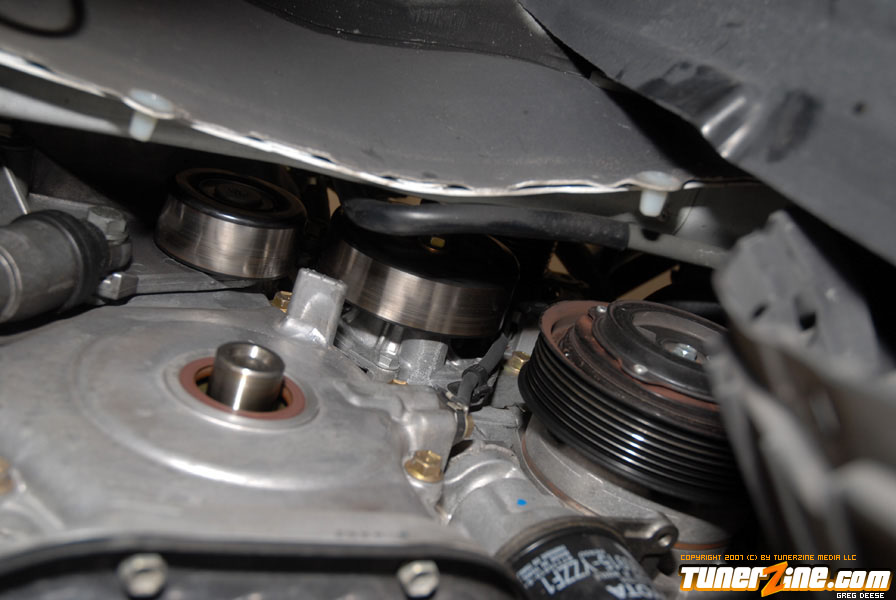
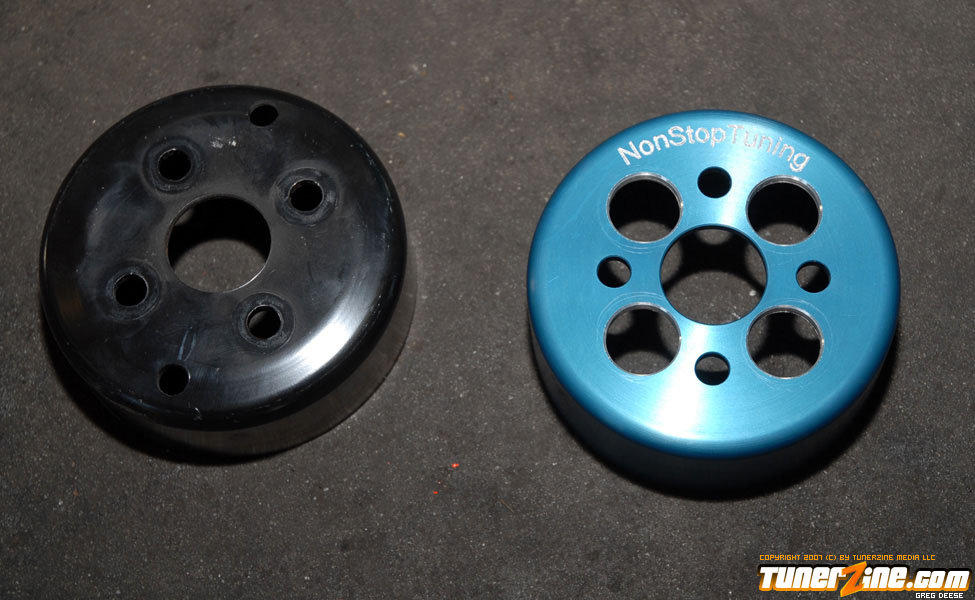
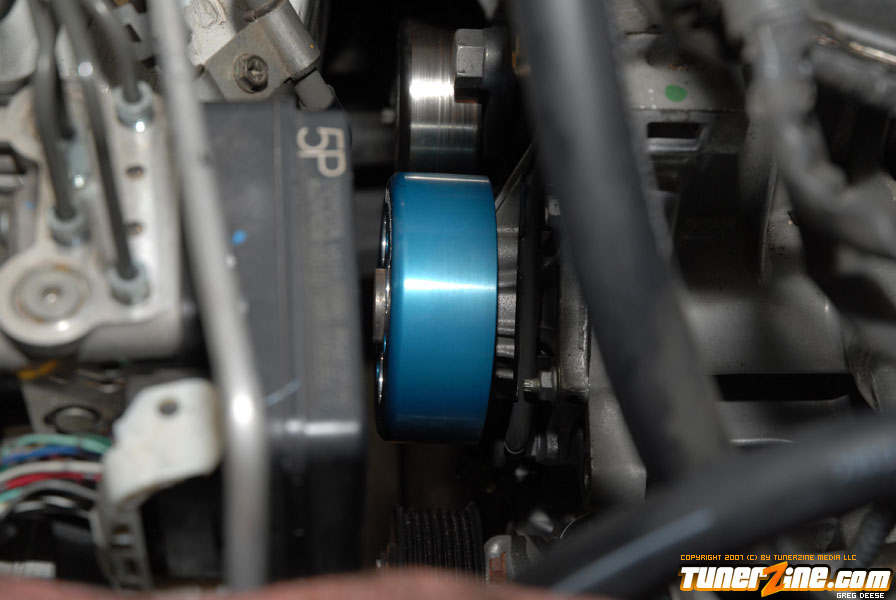
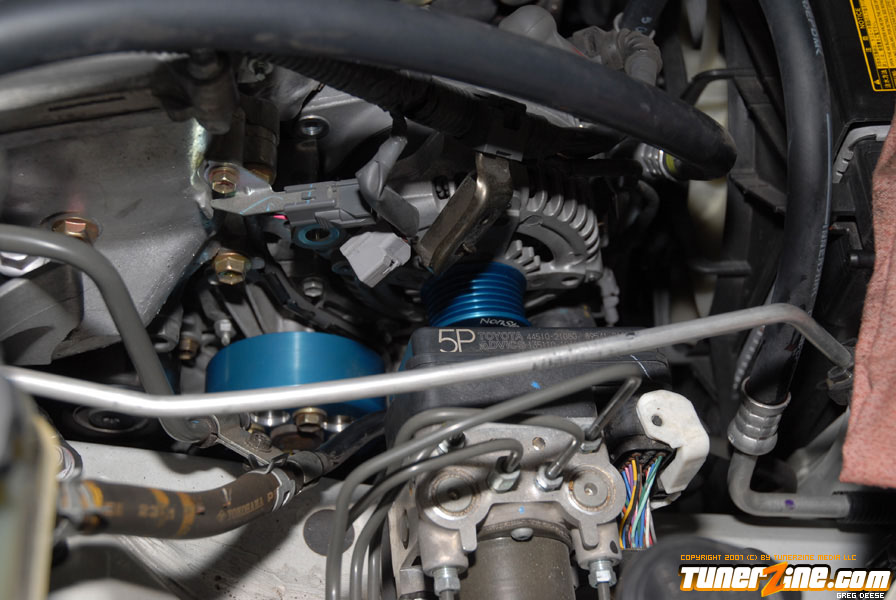
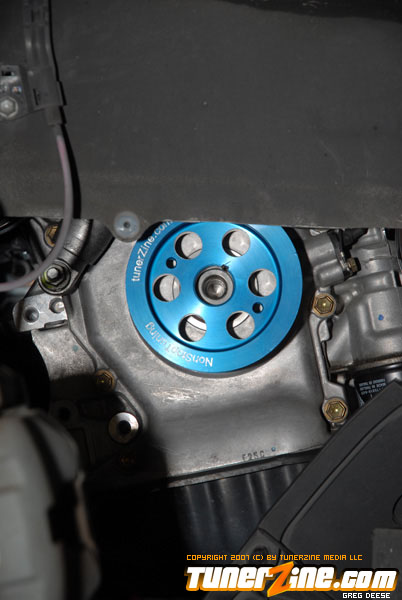
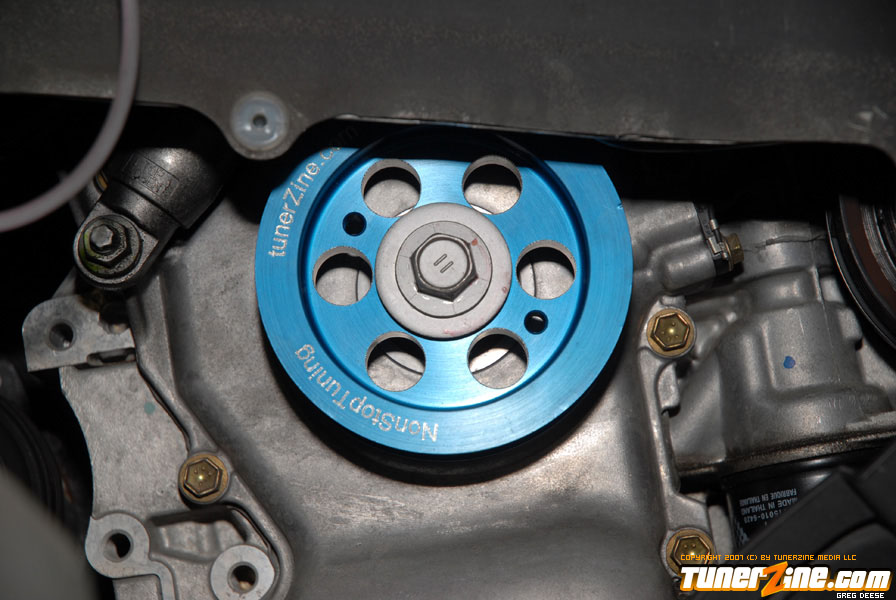
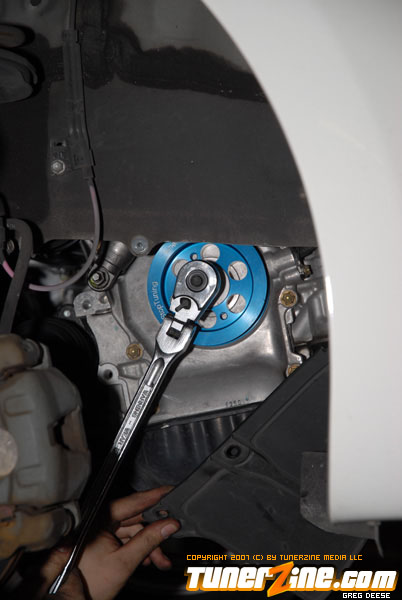
Next step is to take off the water pulley, this one is a little tough to get to it. The water pump pulley is held on by 4x 12mm bolts. It will be easiest to go from underneath to reach all 4 bolts. Once they are all off just remove the oem pulley, simply replace it with the NST pulley. Tighten all 4 bolts down.
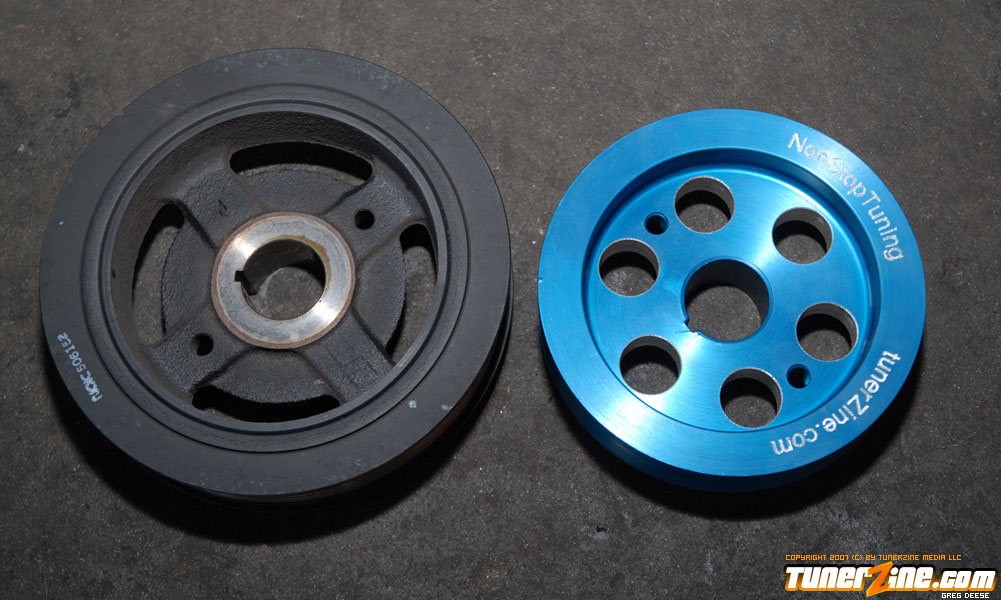
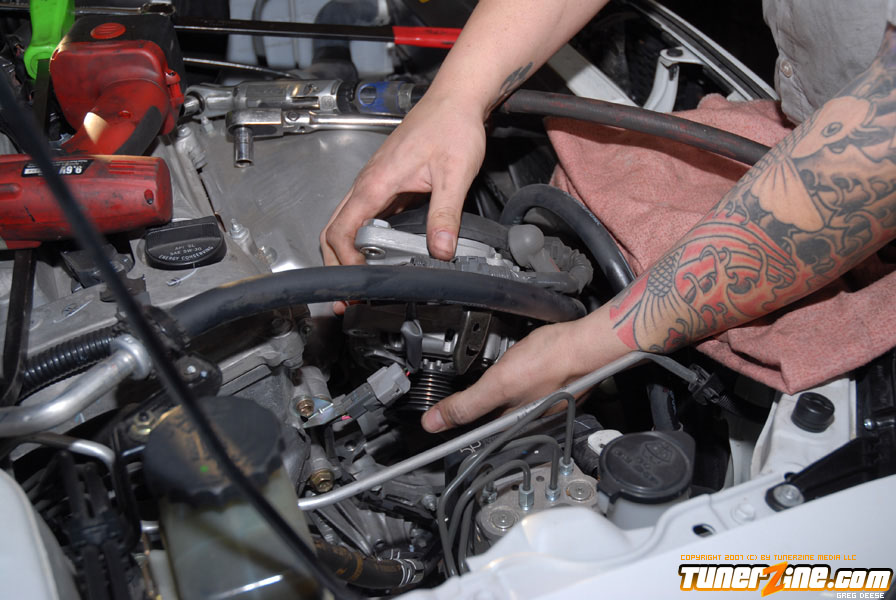
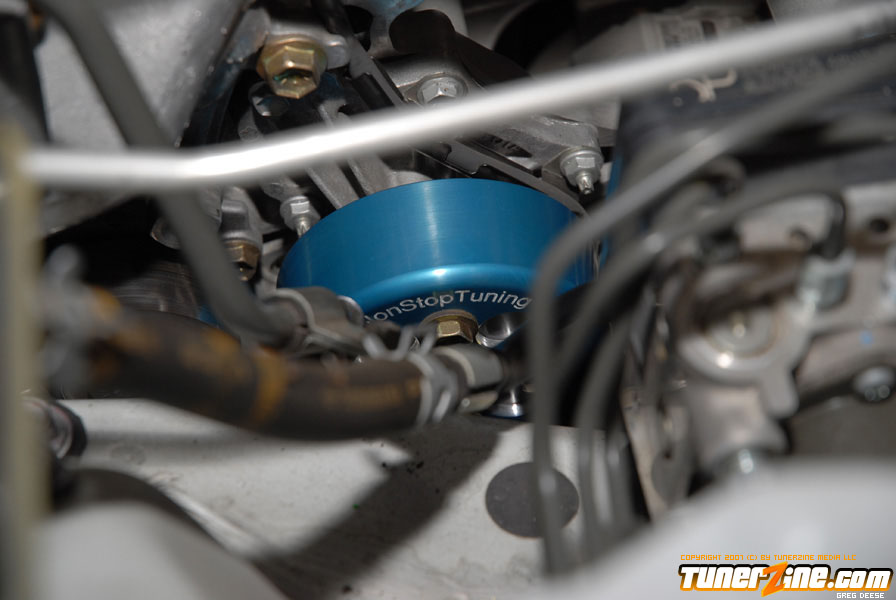
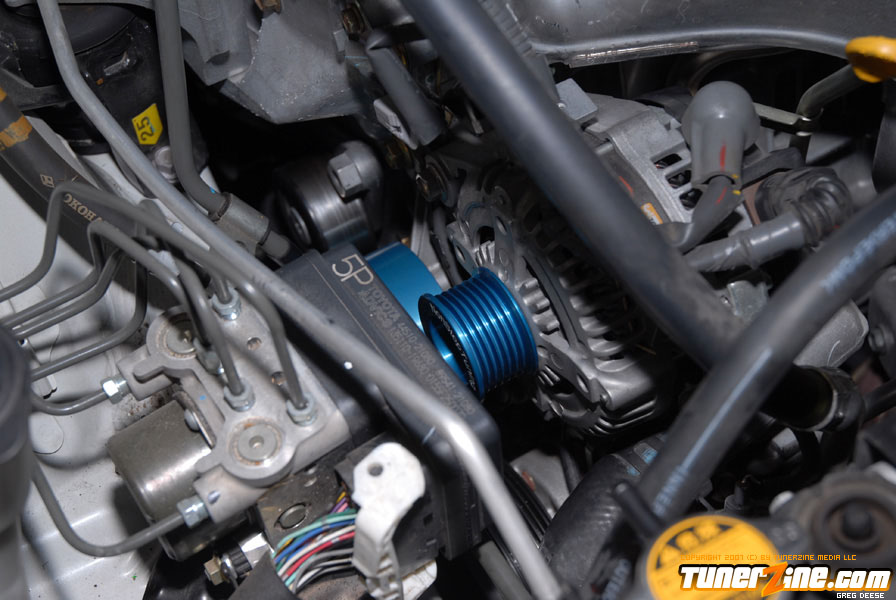
Last step before attaching the belt, is to install the crank pulley and tighten it down. NST crank pulley only weighs 20oz compared to the much larger 55oz crank pulley. Once on, the fun begins with reattaching the alternator. Be sure not to allow the crank to spin after the belts have been removed and you are swapping the OEM crank pulley with the NST pulley. Spinning the crank here can throw off your timing!”
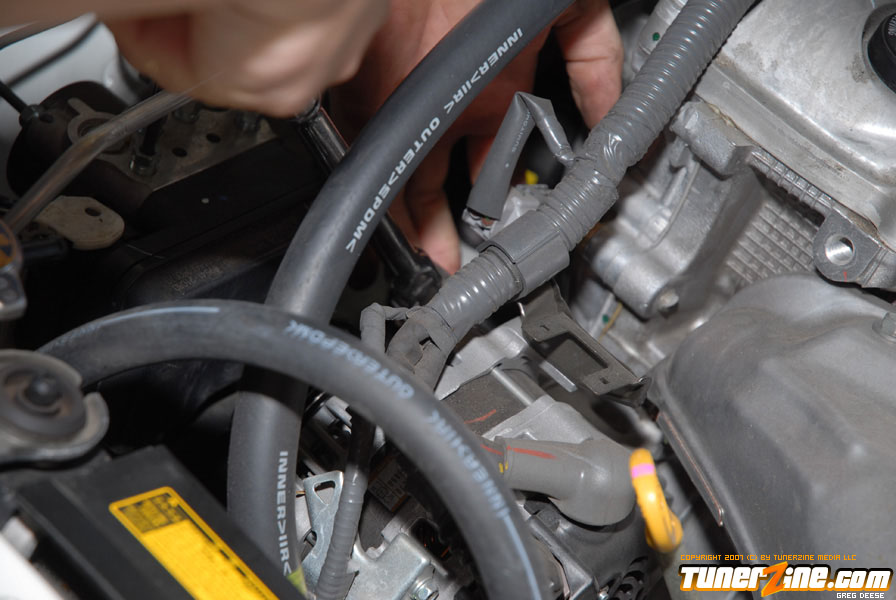
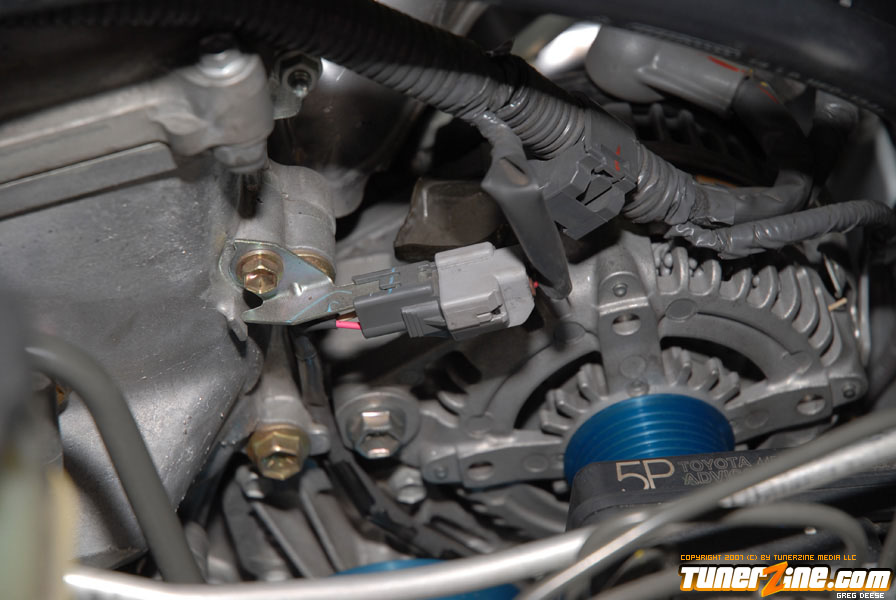
It will take some work to fit the alternatro back on, it’s a very snug fit. Once back on. put in the top bolt, don’t tighen all the way. It will take some work to make the lower hidden bolt fit. After they are both tighen down, and clip back the gray plug and reattach the metal bracket with 10mm bolt.
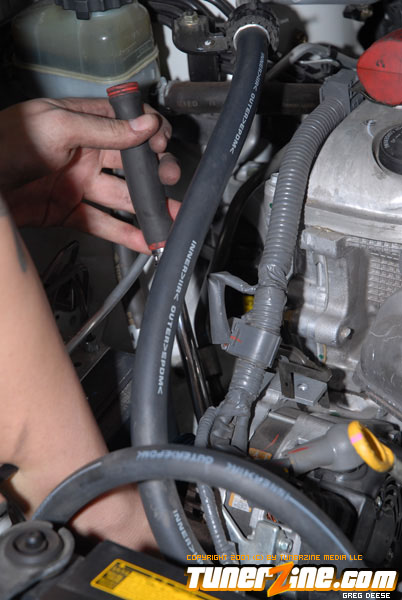
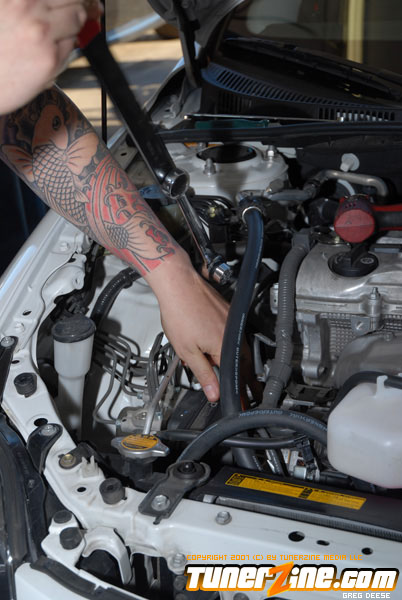
Once all pulleys installed you will need to put on the brand new belt ( K060747 ). Make sure to line it up on the pulleys closest to the block. Also that the belt is laying evenly flat on the pulleys and adjust the pulley tensioner until the belt is completely tighen down. After the belt is completely tighen, reinstall the pulley cover and wheel back on.
Gallery