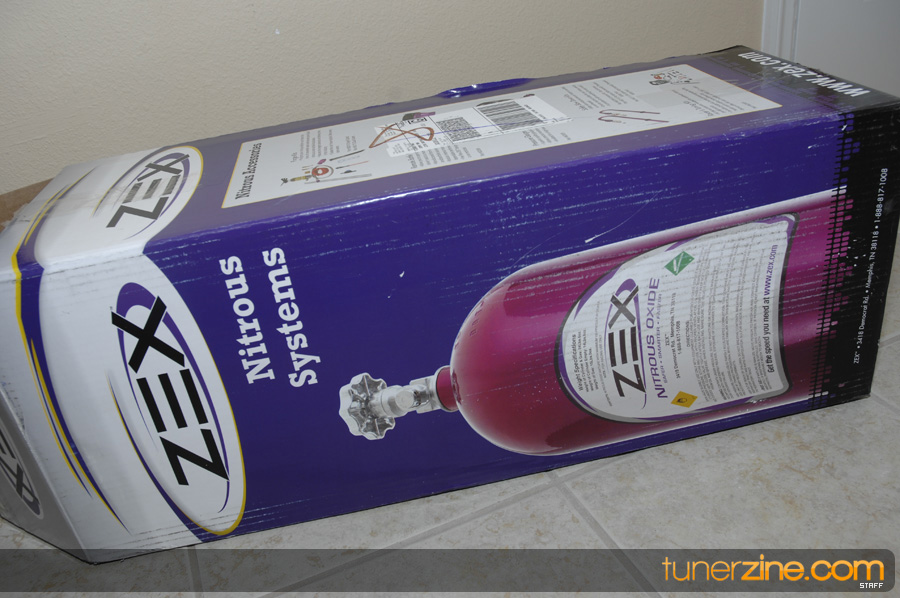
As we come to an end with out Project Honda Fit, we looked for a quick and safe way to gain some extra horsepower to our project. After doing some research and considering the supercharger from Jackson Racing, we decided a nitrous kit from Zex would be a better “fit” to our project. Nitrous installs are one of the most common applications for a quick gain in horsepower and given that many Fit owners are on a budget we believed that the Zex nitrous kit would be more beneficial to our readers.

Take a look at our in depth step by step photos and install details as we set our Fit up for some extra horsepower at a push of a button! Many thanks to Zex for sponsoring our Honda Fit. For more information on Zex Nitrous Kits, visit their website.
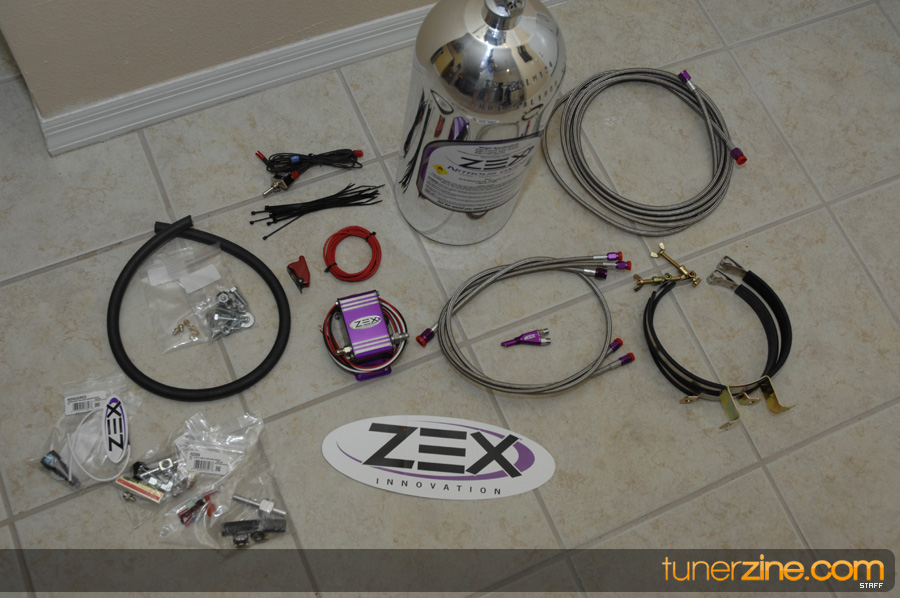
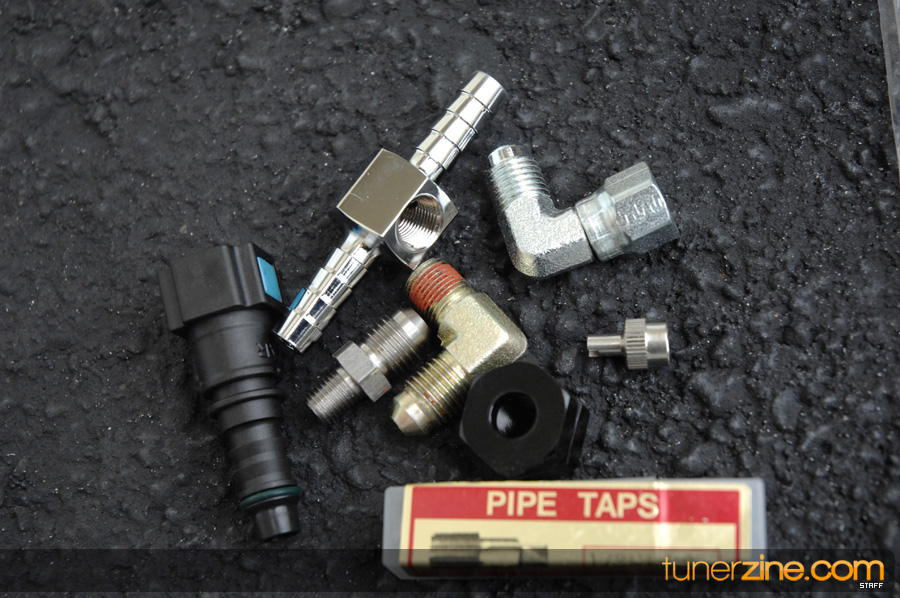
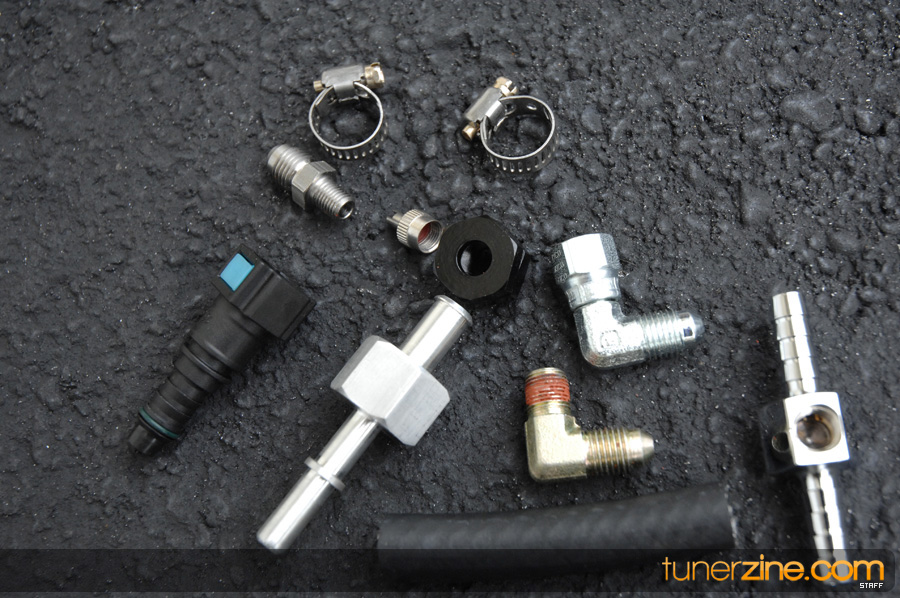
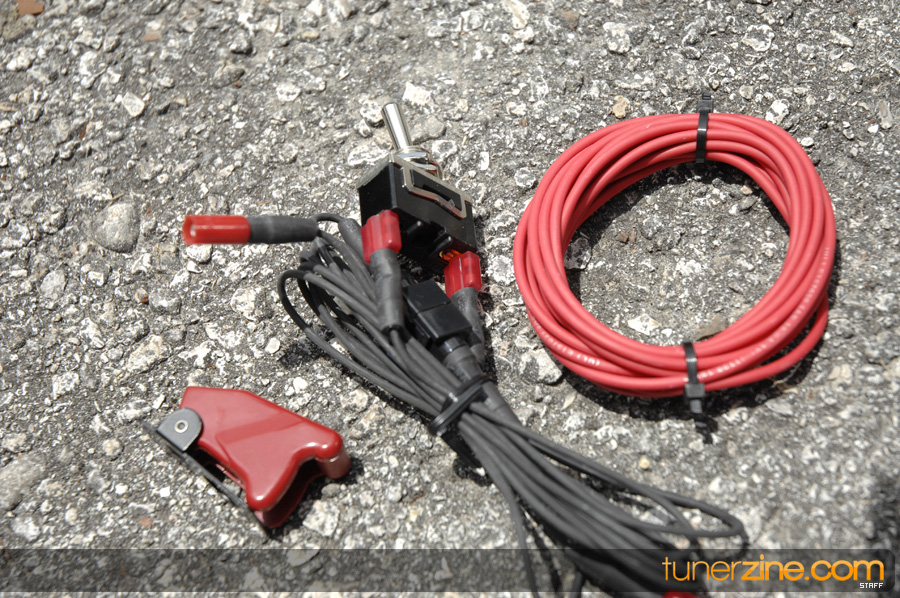
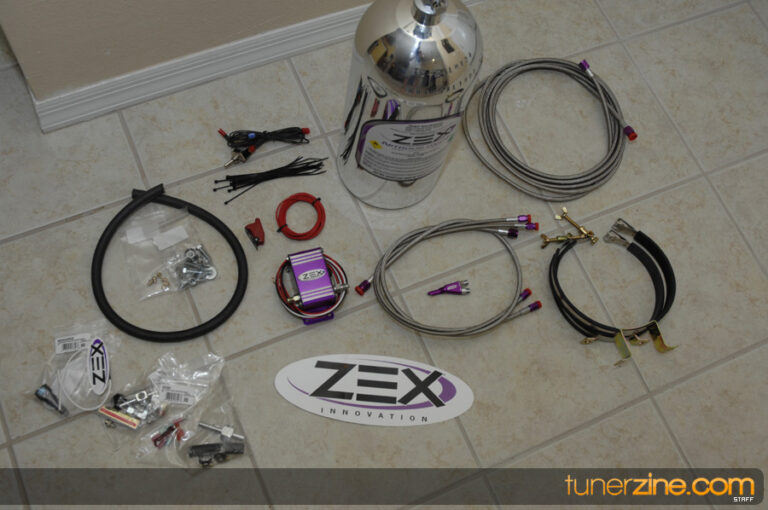
1 We start by laying out the kit and making sure we have all the parts necessary to start our install.
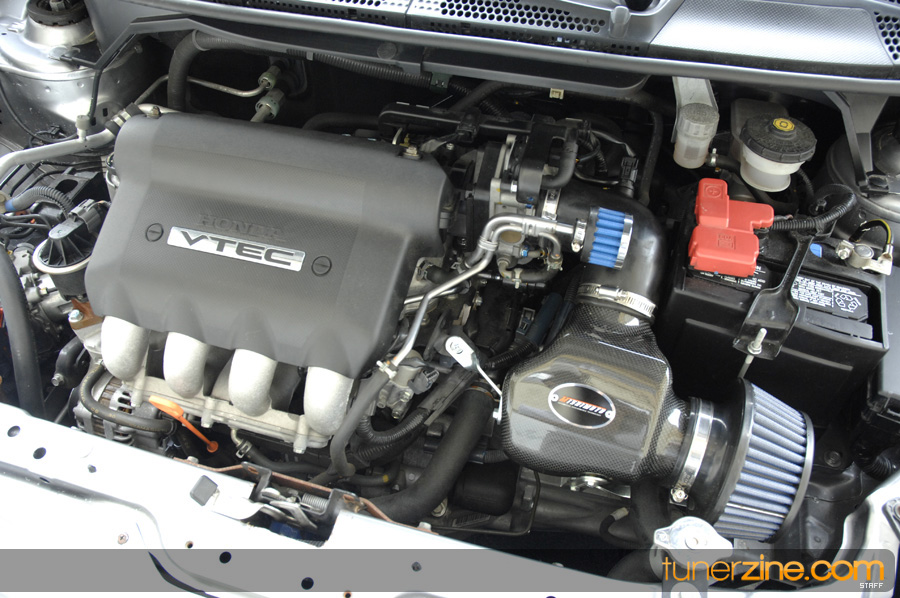
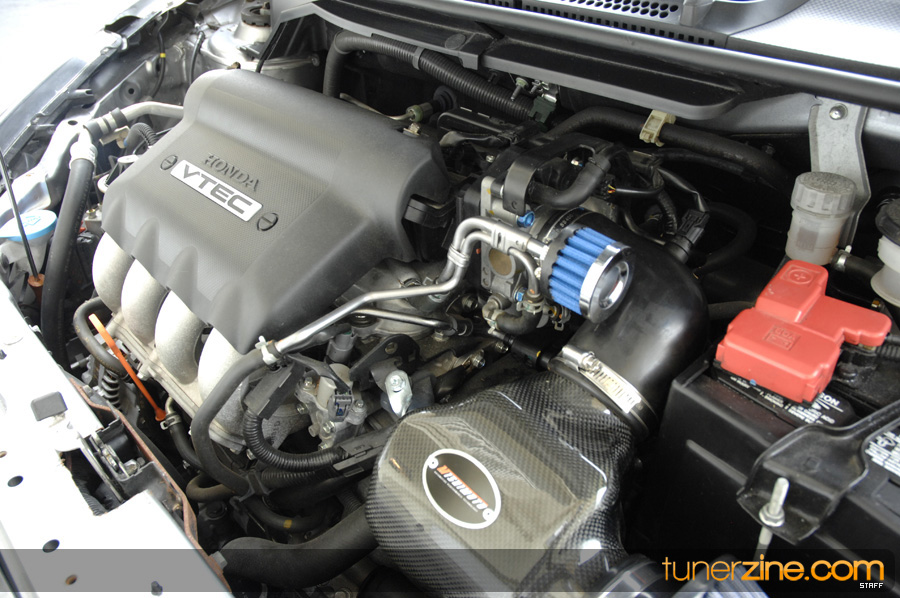
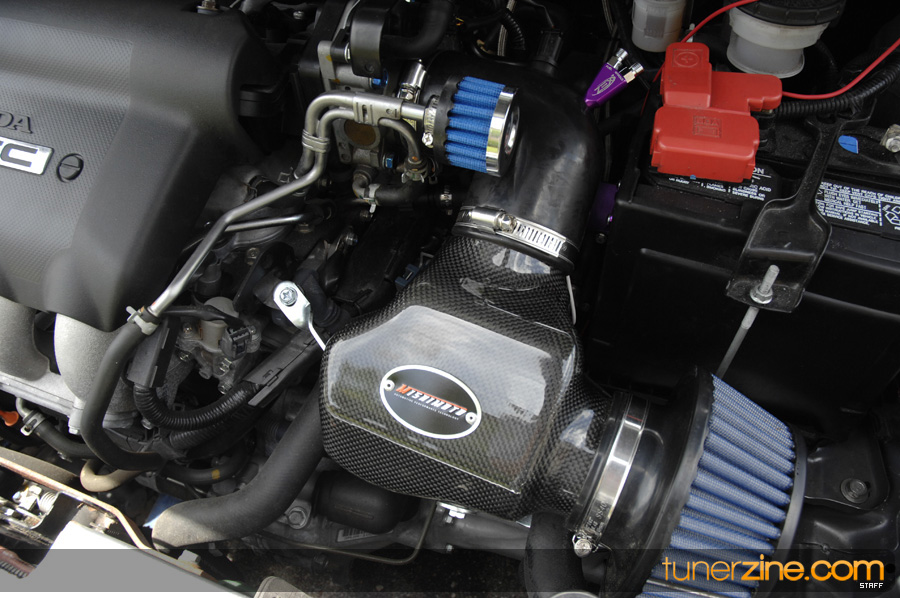
2 A shot of our Fit engine bay minus the Nitrous
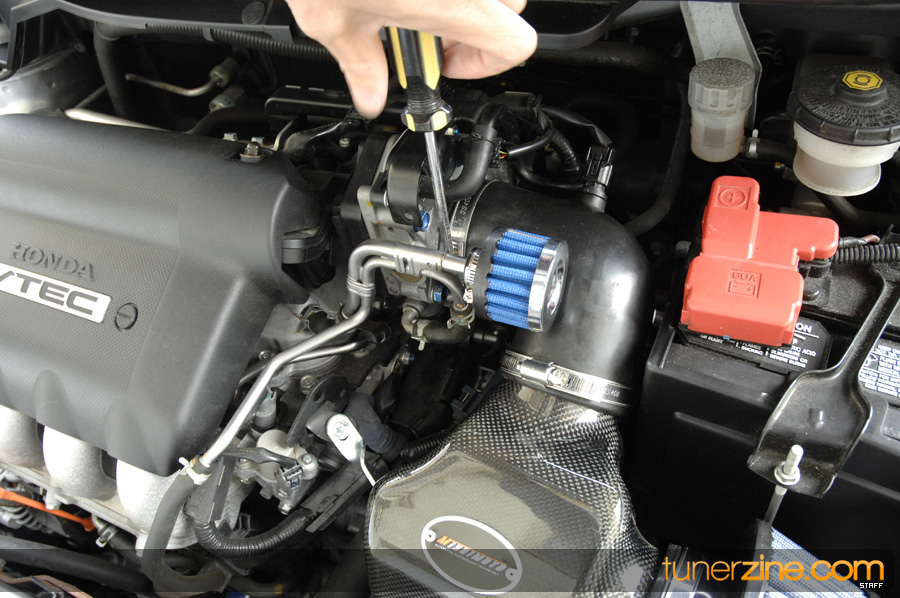
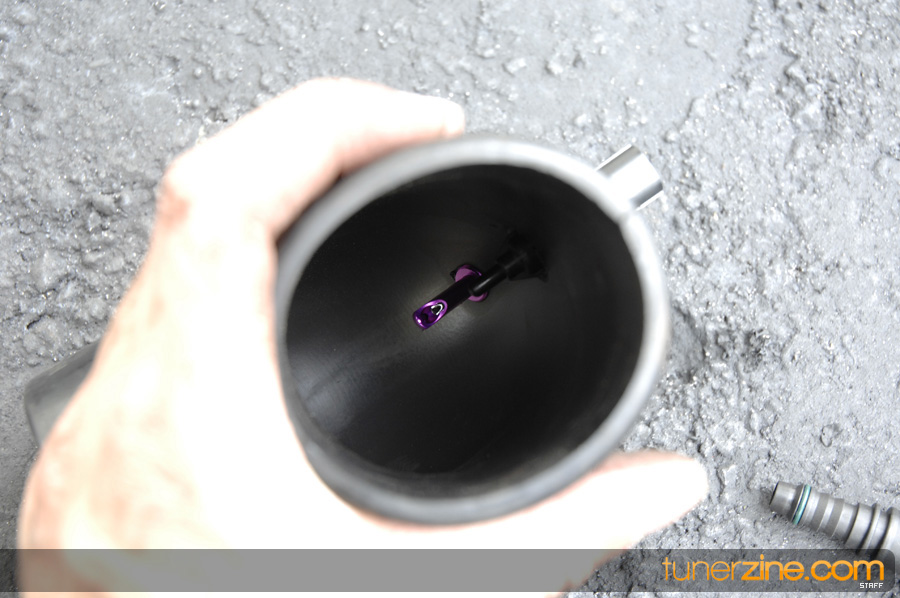
3 First we need to remove the filter, using a philips screw driver we remove the clamp holding our intake to the throttle body and the air breather

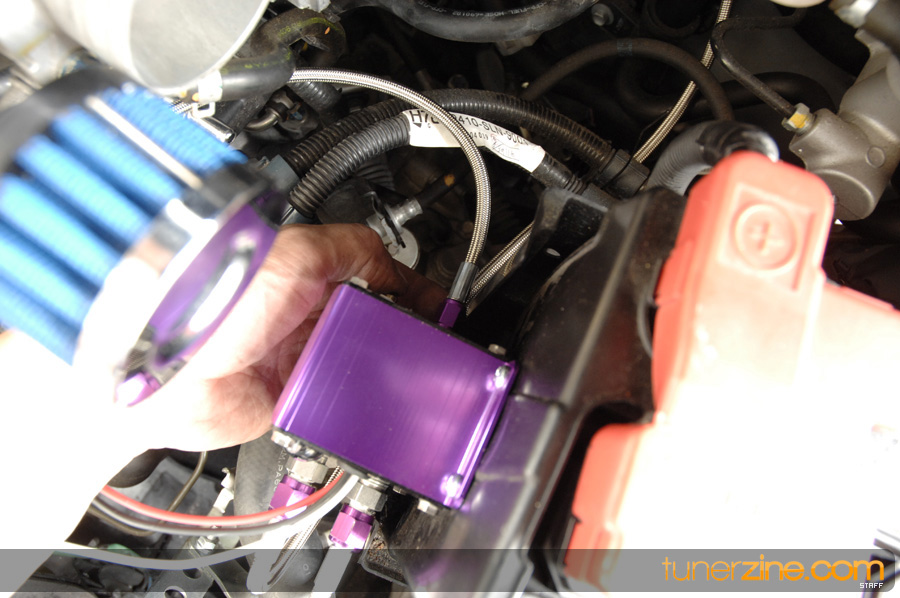
4 Locate a spot where you would like to install the Zex Nitrous Management Unit. We chose to attach it to the plastic battery shield.
5 Use the supplied tapping screws, to attach the unit in place.

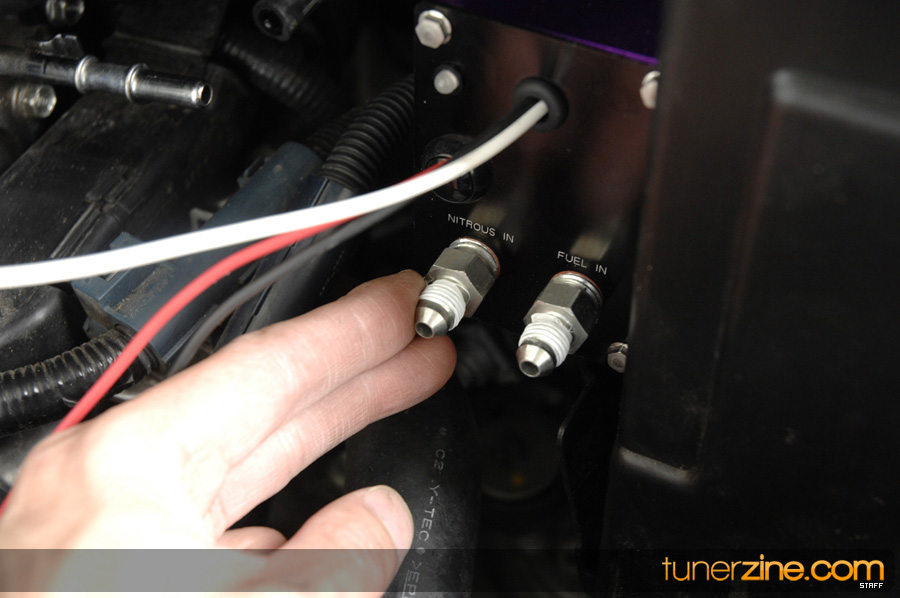
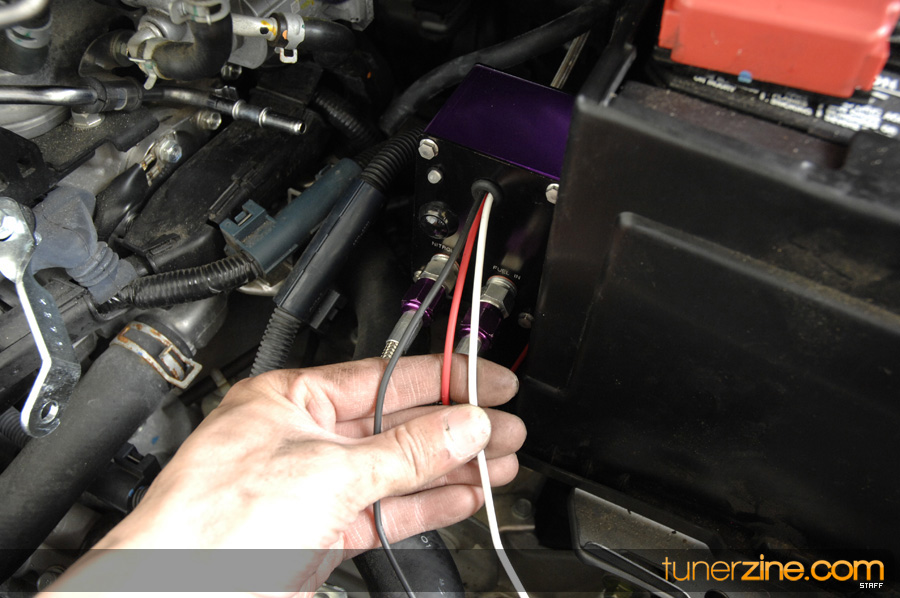
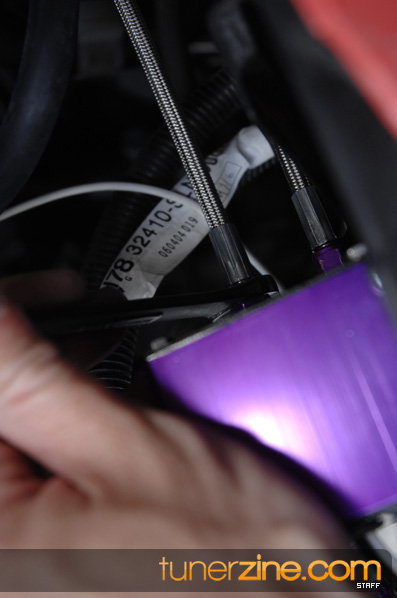
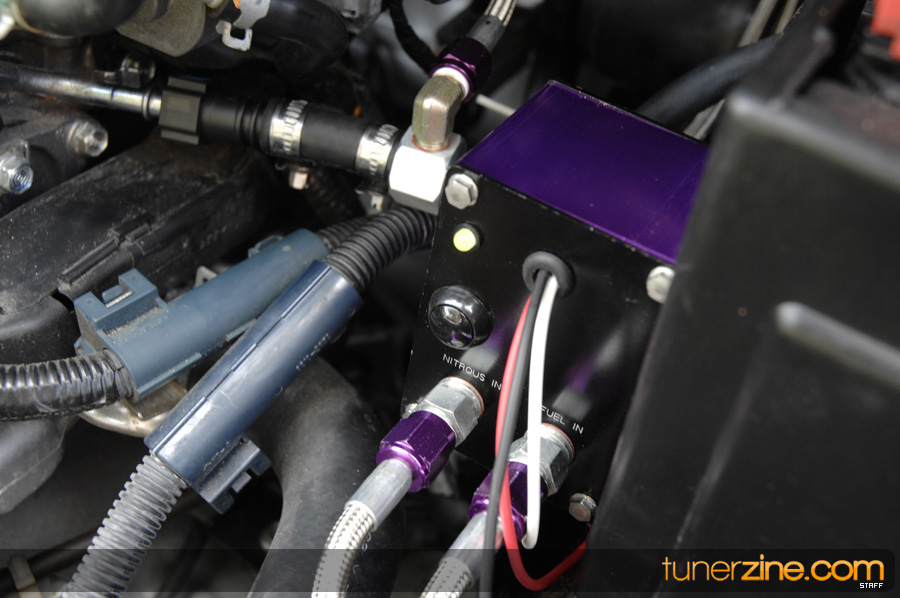
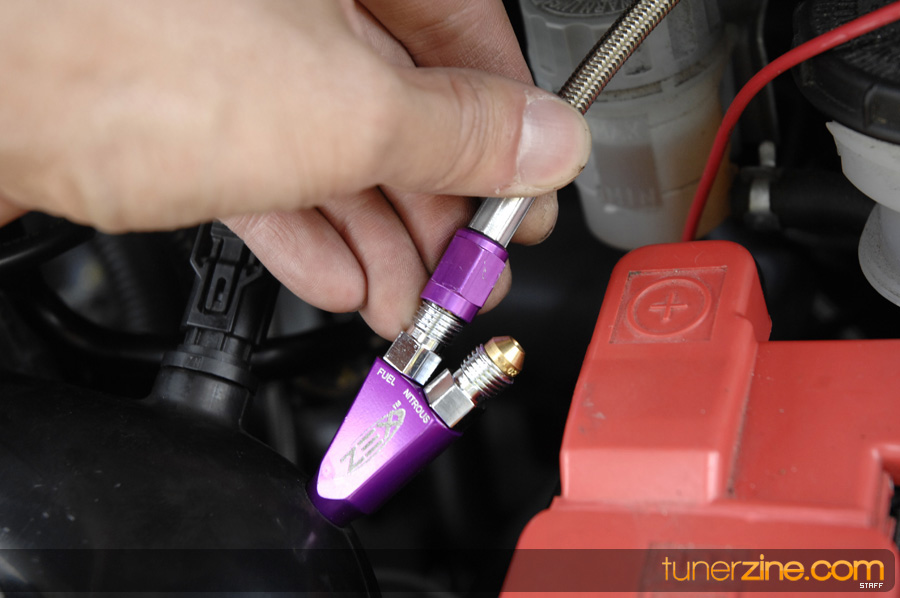
6 Once we have the unit safely mounted we attach the fittings to both nitrous in and fuel in connections on the management unit
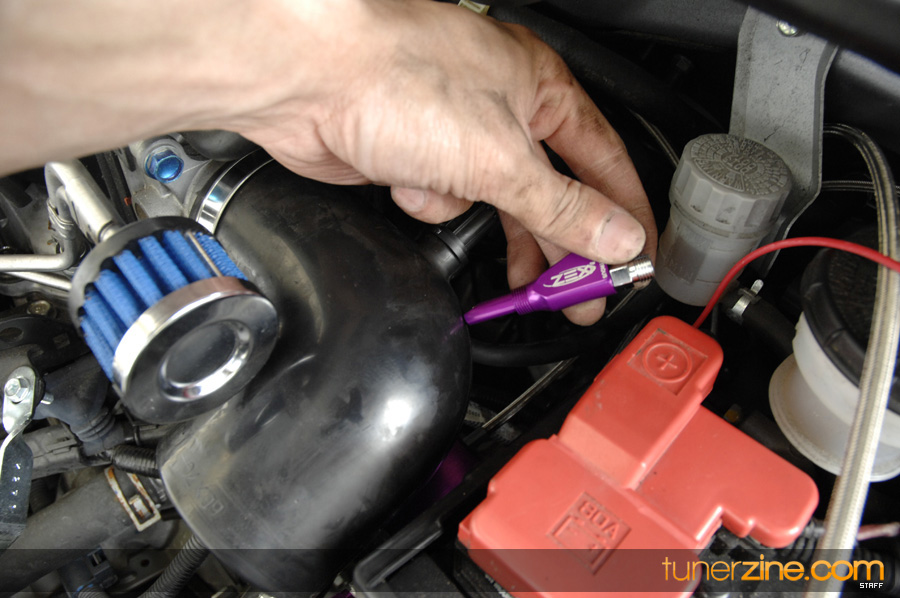
7 Connect the long hose assembly to the nitrous in connection
8 We routed our nitrous hose under the car. Make sure to use supplied zip tie’s to keep everything nice and secure and away from moving parts that can damage the hose.
9 We found a whole with a rubber stopper that allowed us to snake the hose through to our trunk area. No drilling required!
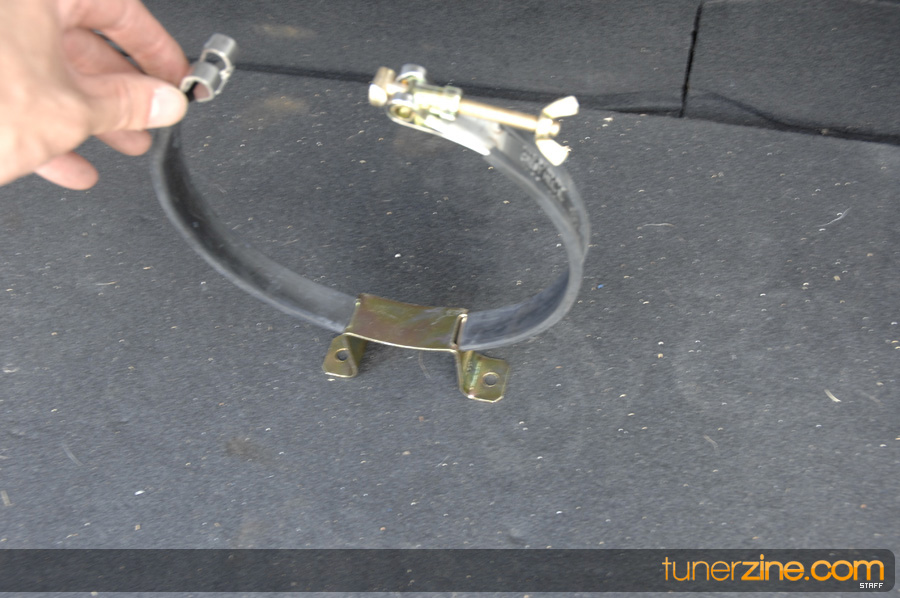
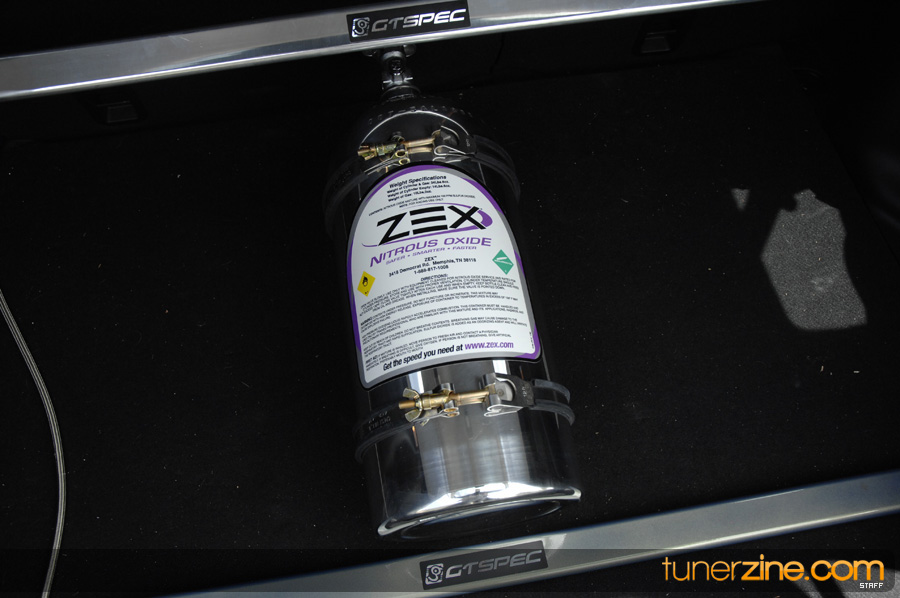
10 Next we locate a spot in the trunk where we want to mount the bottle.
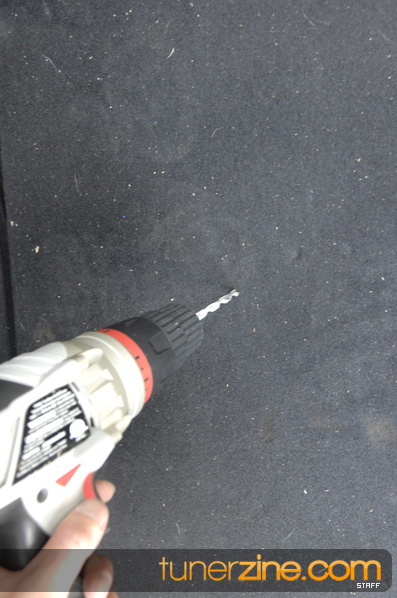
11 Drill and attach brackets with tapping screws.
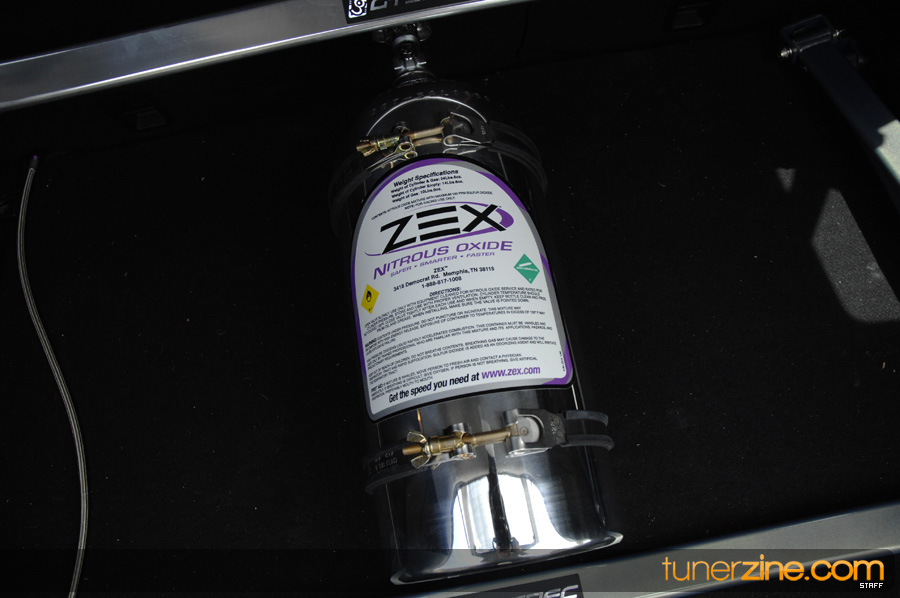
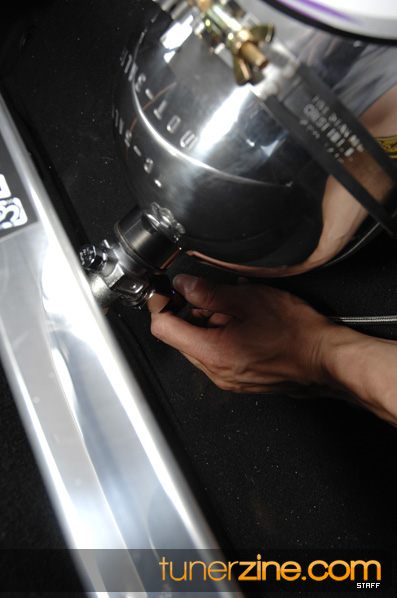
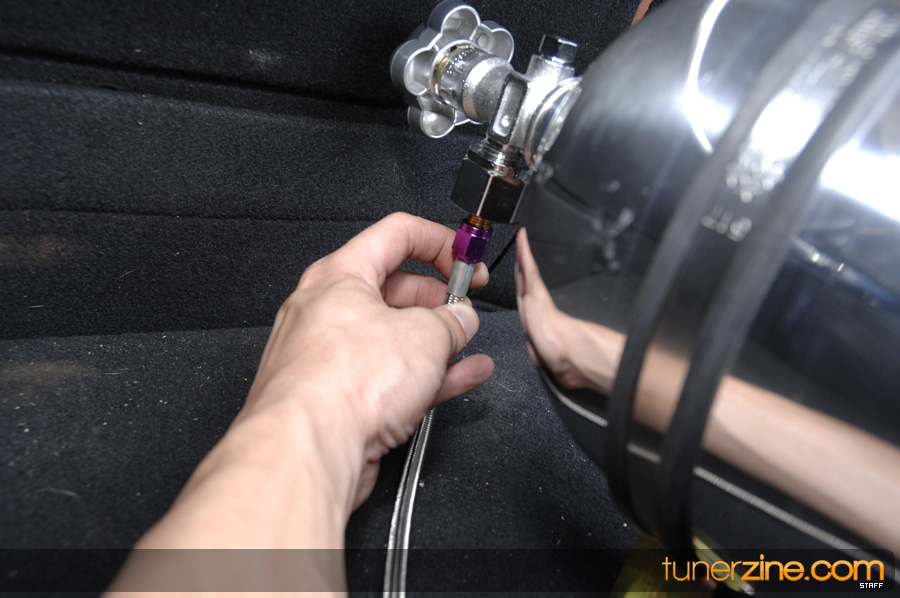
12 Here’s our bottle mounted and ready to go
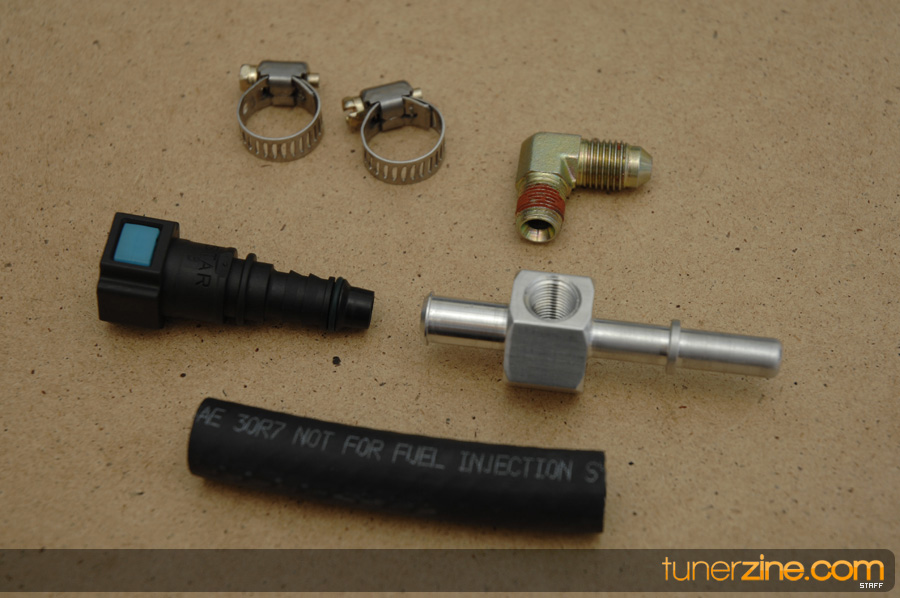
13 Attach the hose assemble from step 8
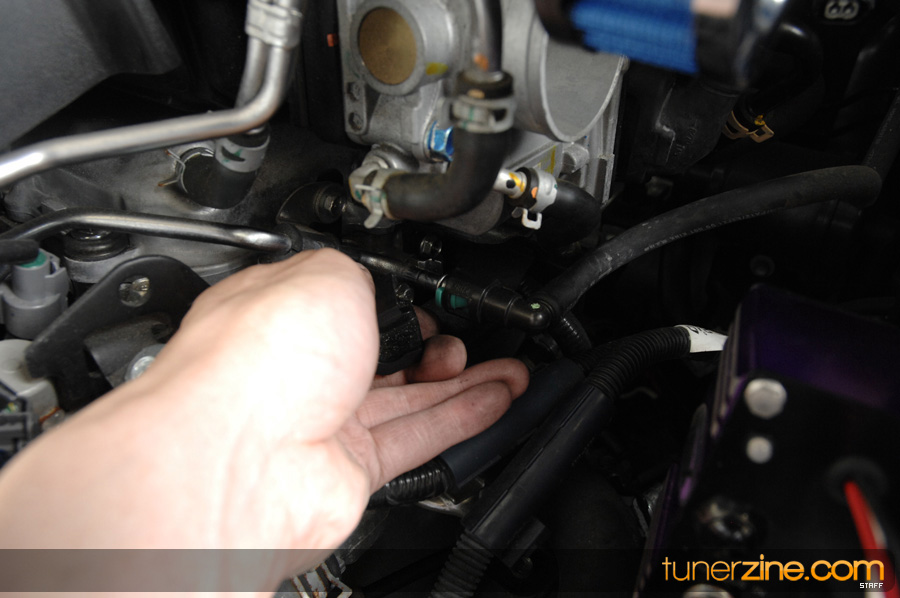
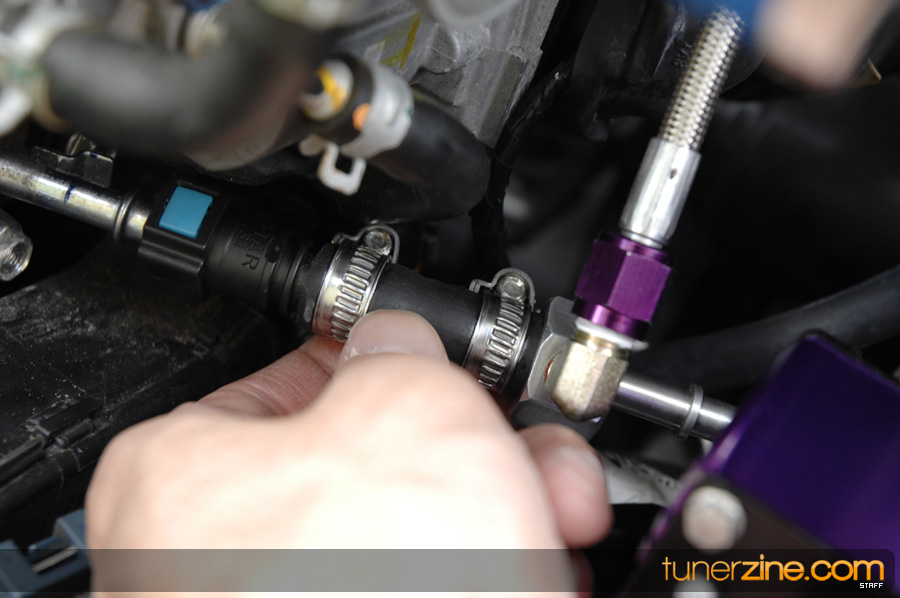
14 Next we move on to the fuel supply, locate the stock fuel hose which connects to the fuel rail. This will be located right under the throttle body. The fuel connector uses a clip which easily disconnects, make sure to have a rags handy to catch spill from excess fuel
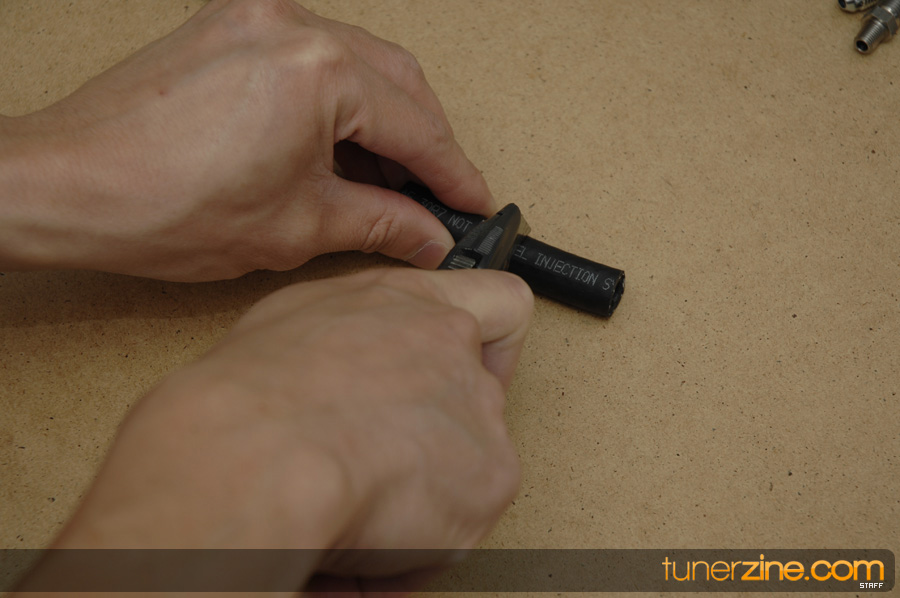
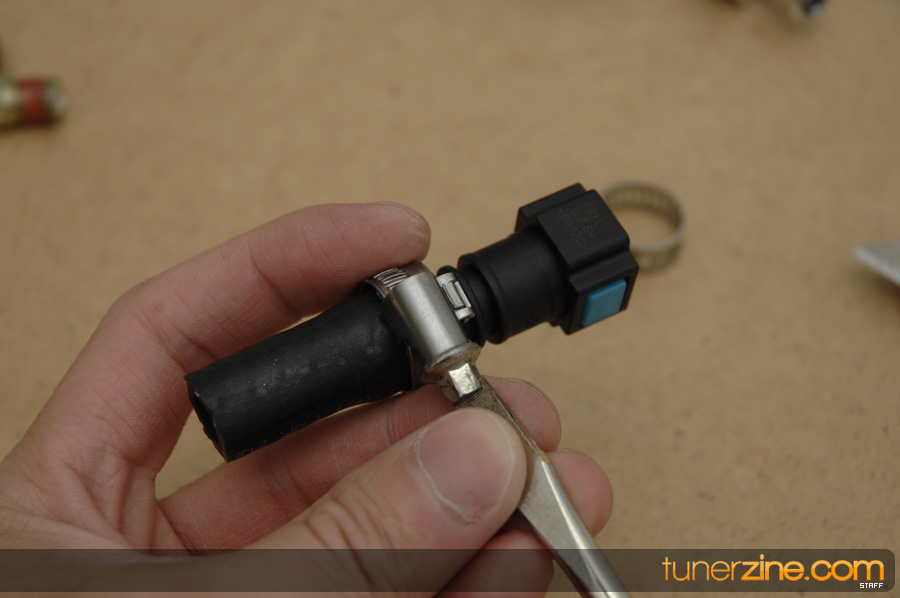
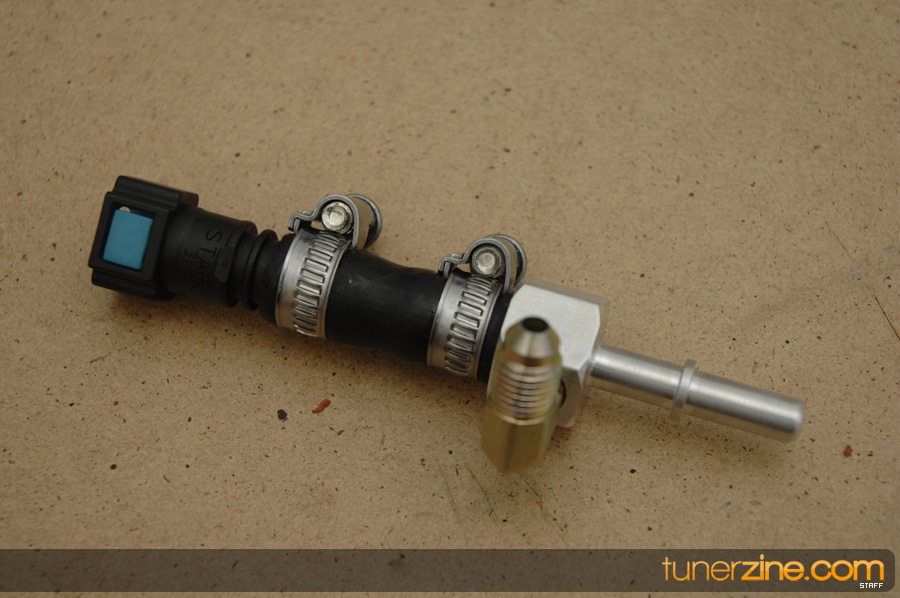
15 Zex provides all connections to make our adapter which will make it a snap tapping into the fuel system without cutting any stock fuel lines.
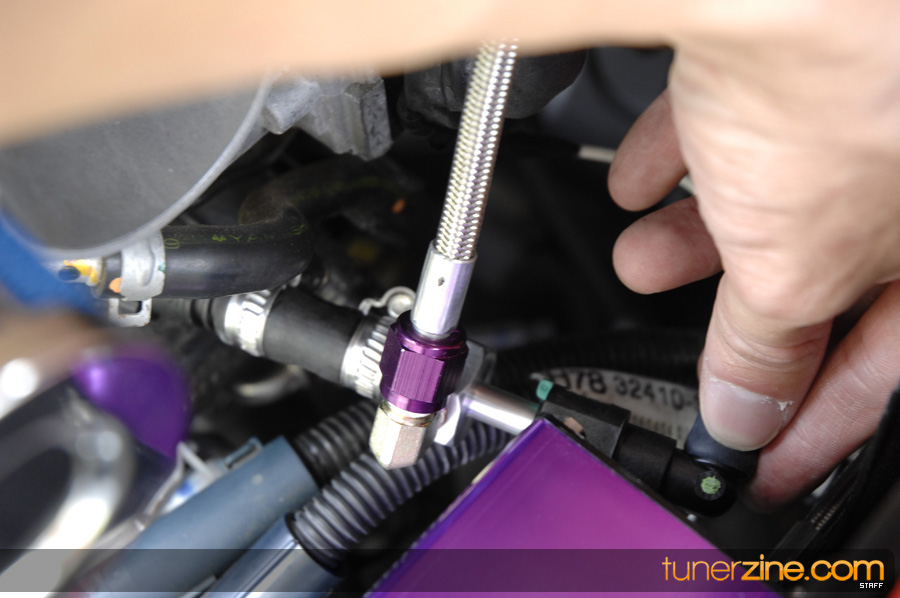
16 Using the the quick connects and adapters we put together our adapter.
17 To demonstrate the connection on the right we have a stock fuel hose to show how the connection goes together.
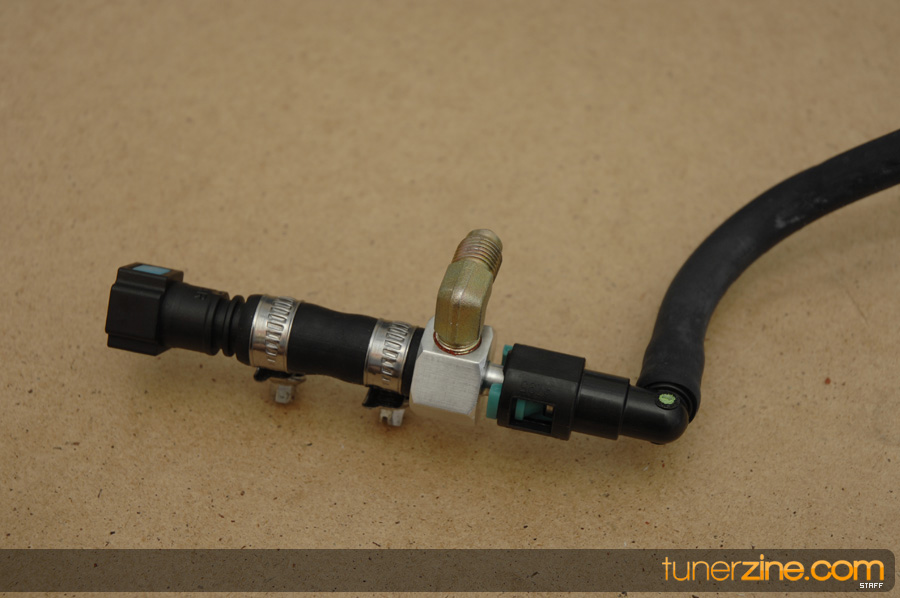
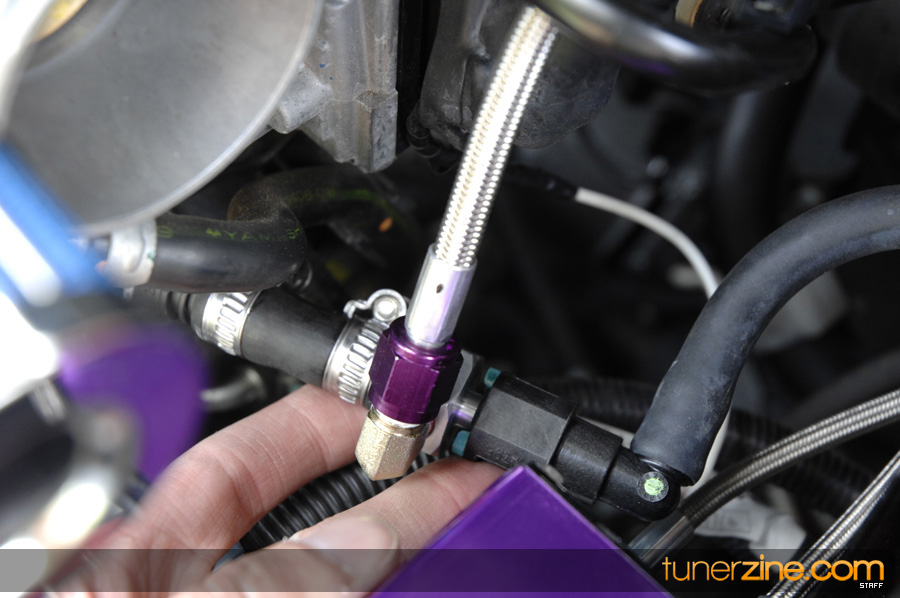
18 Back into the engine bay we connect the hose which will supply fuel to the managment system
19 Connect the hose from the where we tapped into the fuel line to the back of the management system to the fuel out connector.
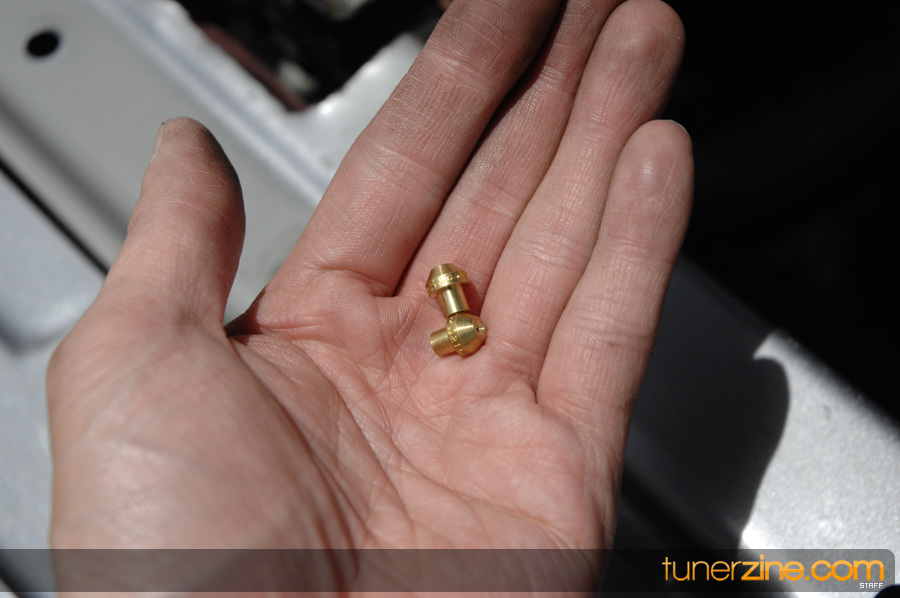
20 Next snap the stock fuel hose into our adapter piece
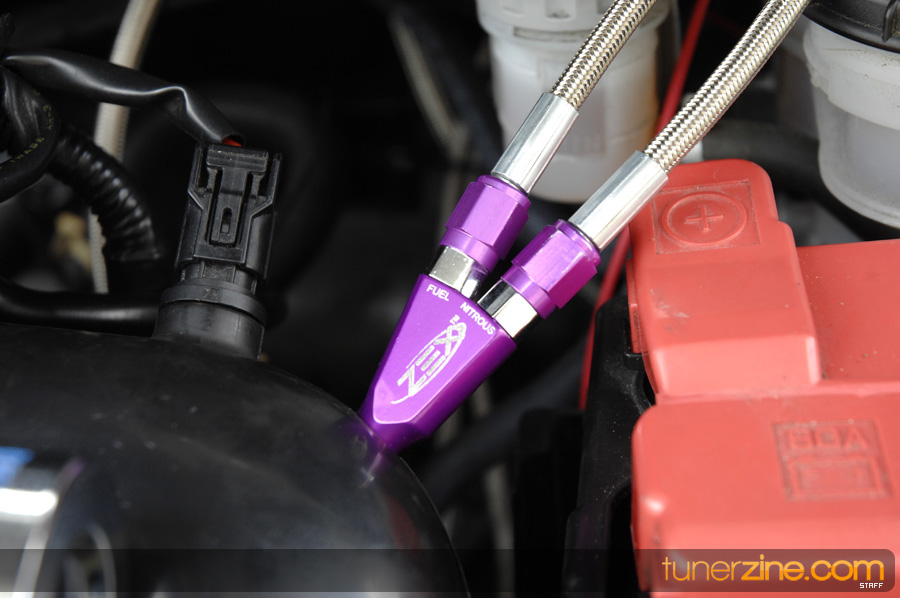
21 For our Jets, we decide on a conservative 45hp Shot, so were using a 17 jet for our fuel and 28 for nitrous, for a proper mix.
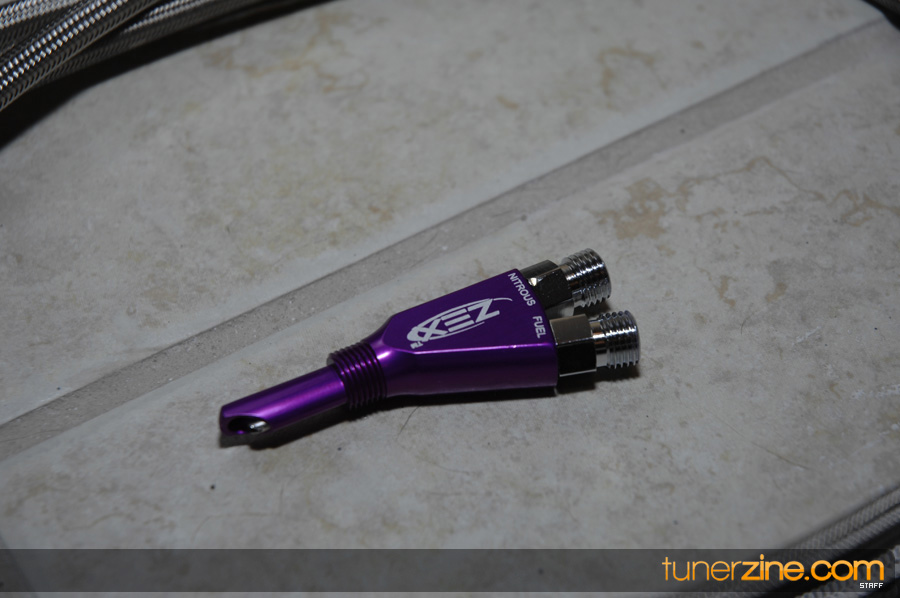
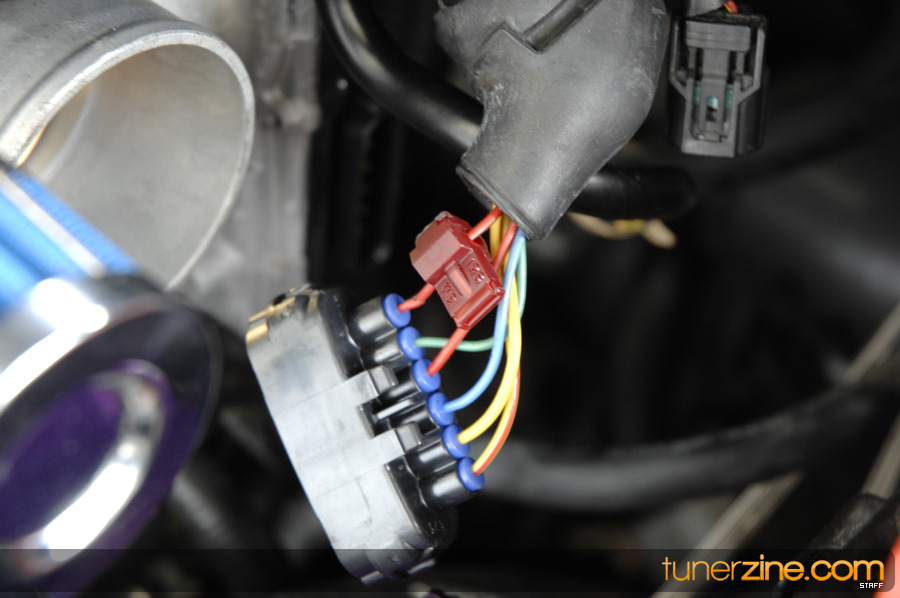
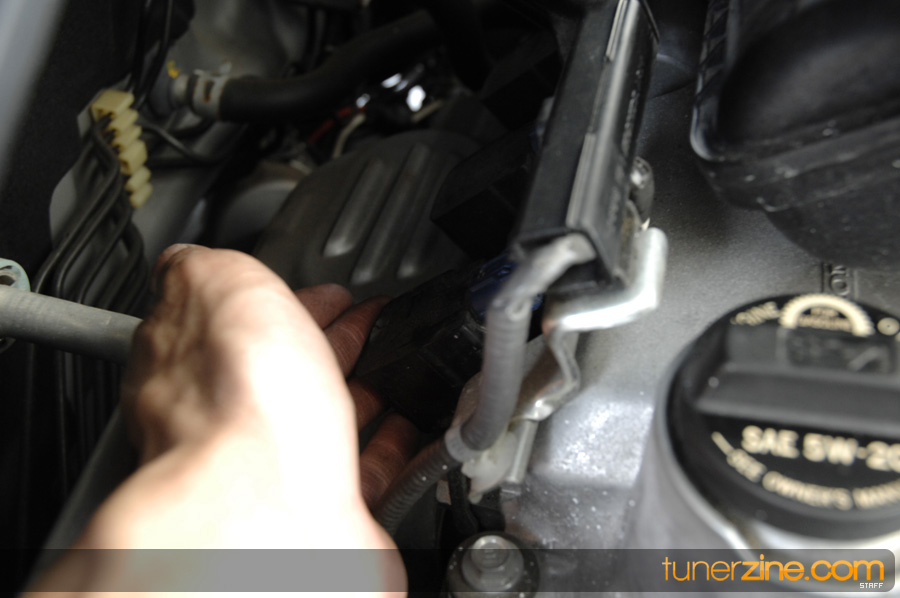
22 Attach both fuel supply and nitrous supply hose form the management unit to the zex Nozzle
23 Now lets move on to the electrical side of the install.. We will need to locate a throttle signal for our management unit.. On the fit there will be a large connector that attaches to the throttle body. Withing that harness we will need to tap into the red wire (first one on the connector)
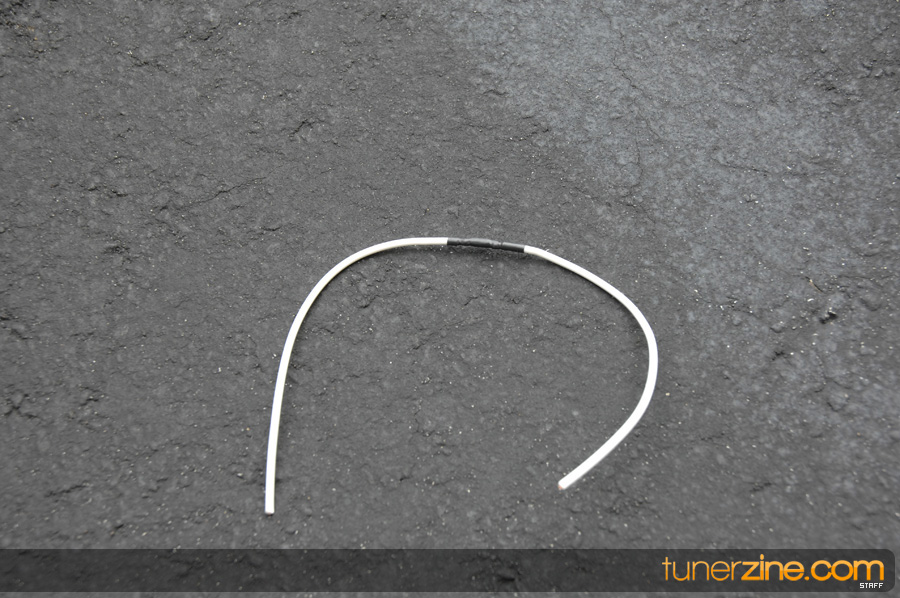
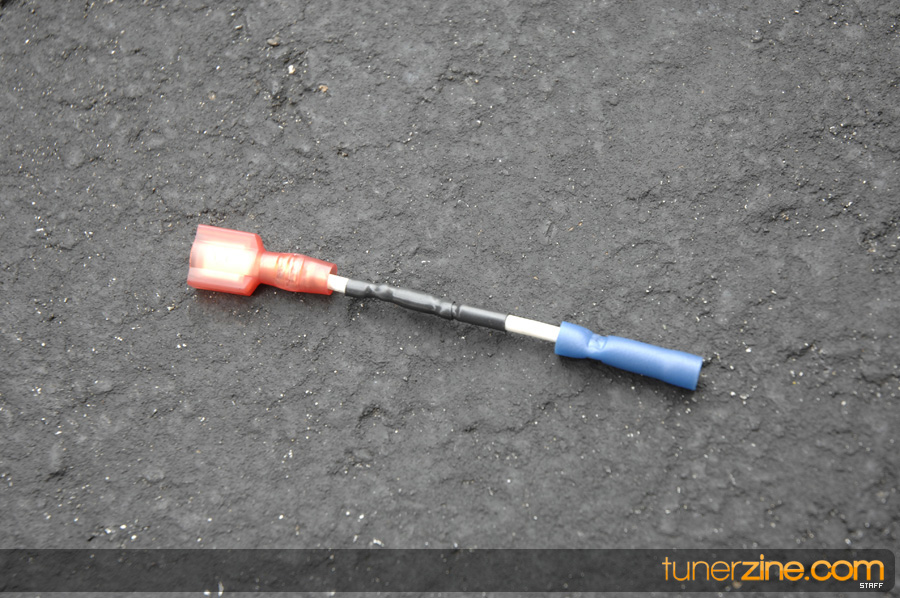
24 Throttle-by-wire systems are VERY sensitive to any load on the TPS signal line, so Zex supplies us with a resistor that isolates the Nitrous Management Unit further so there are no issues with check engine lights, etc.
25 Using the supplied electrical connectors we make our adapter that containts the resistor in line.
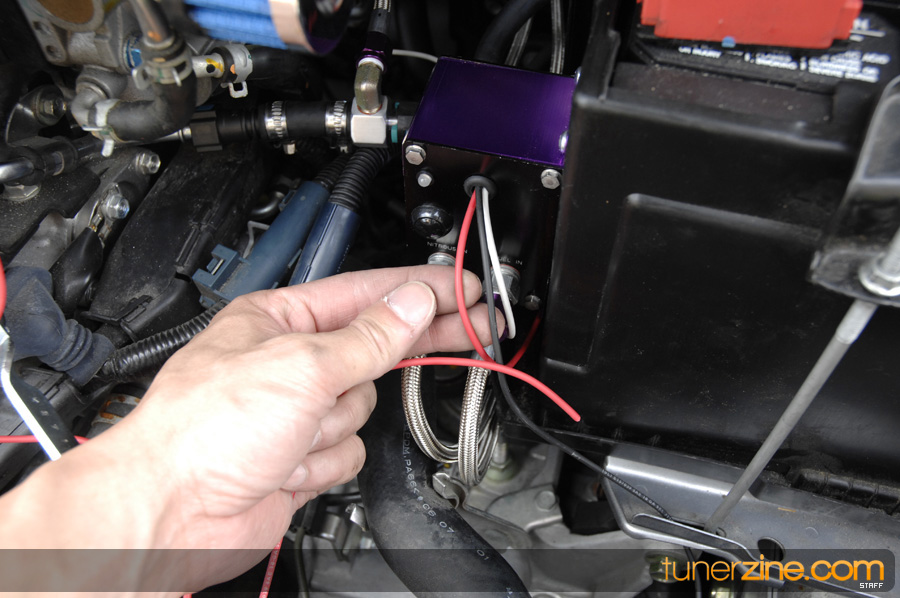
26 plug the connector into the red wire on the connector that we located in step 23
27 Wiring from the management unit. white – TPS signal, black – ground, red – power connected to switch.
28 next we will need to ground the system, we found a great spot on the driver side frame rail
29 With our power switch we router the wire next to the firewall all the way to the passenger side where we were able to snake it through a wire grommet.
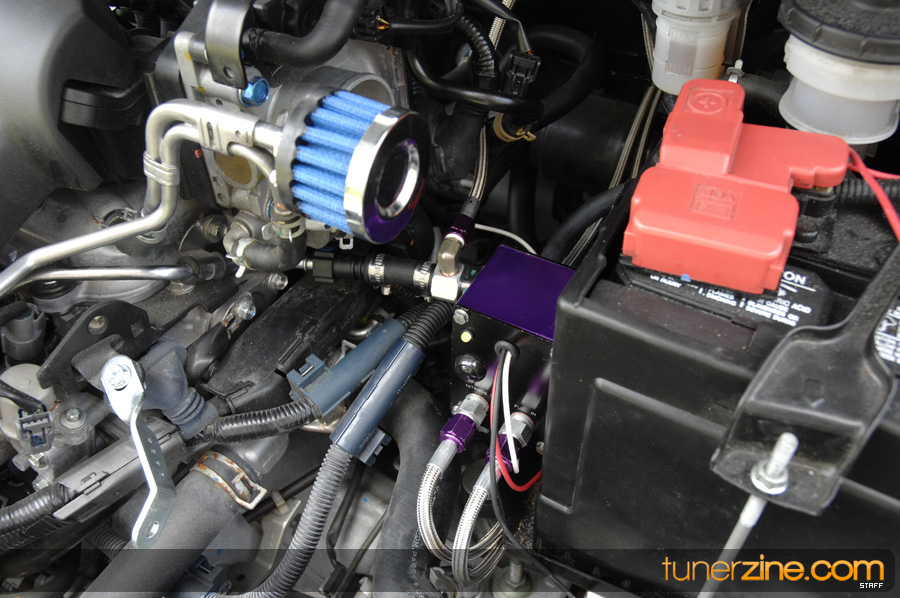
30 Zex supplies all the wiring and necessary switch to install inside the cabin
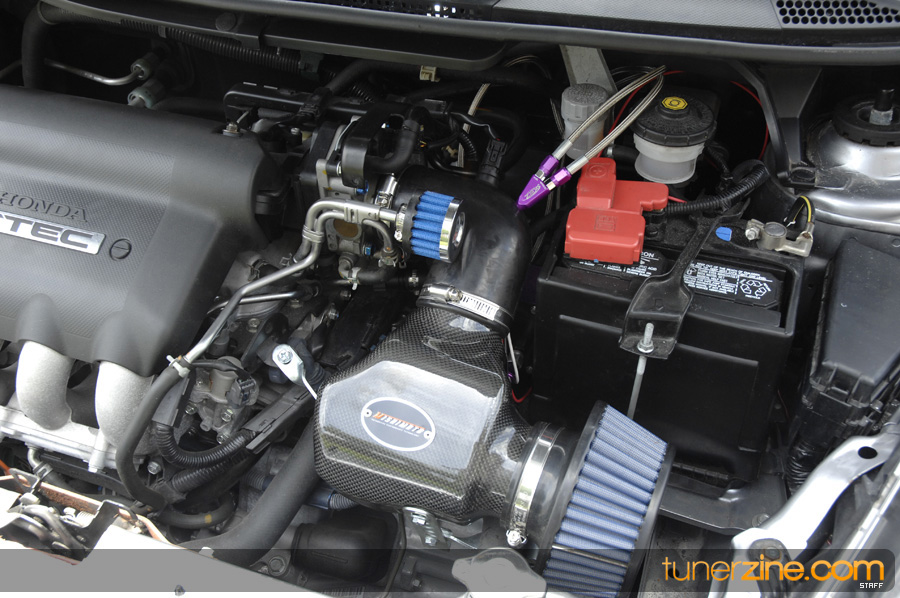
31 Now that all connections are done, double check to make sure everything connected properly. We install our intake back in reverse order.
32 A shot of the zex nitrous system installed.
33 Now that you have completed the nitrous install, the next step is to program the Activation Switch. (Please follow included install manual for more information on this process)
34 We have the green light indicating that the system is ready to go!
35 But before we go and run our system, we install a set of colder zex spark plugs.
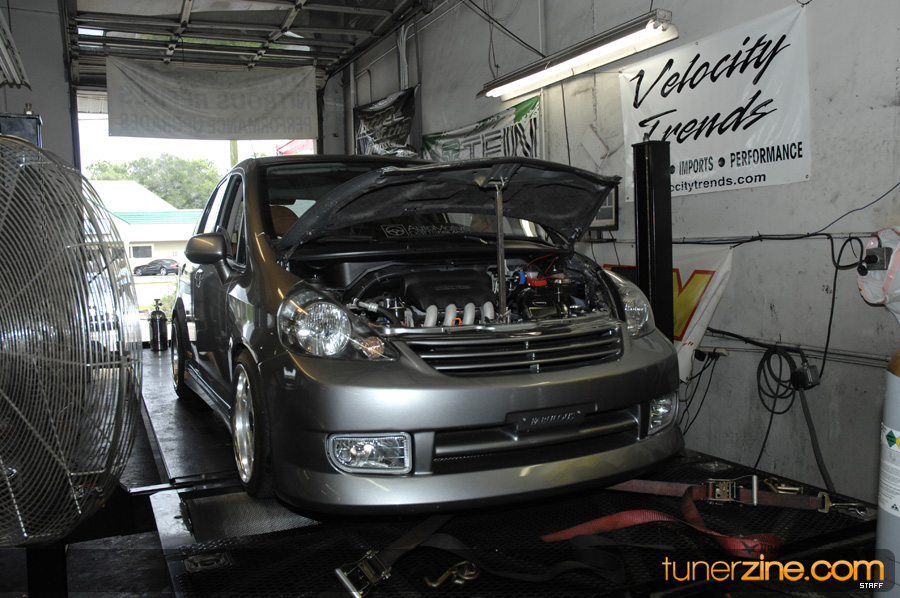
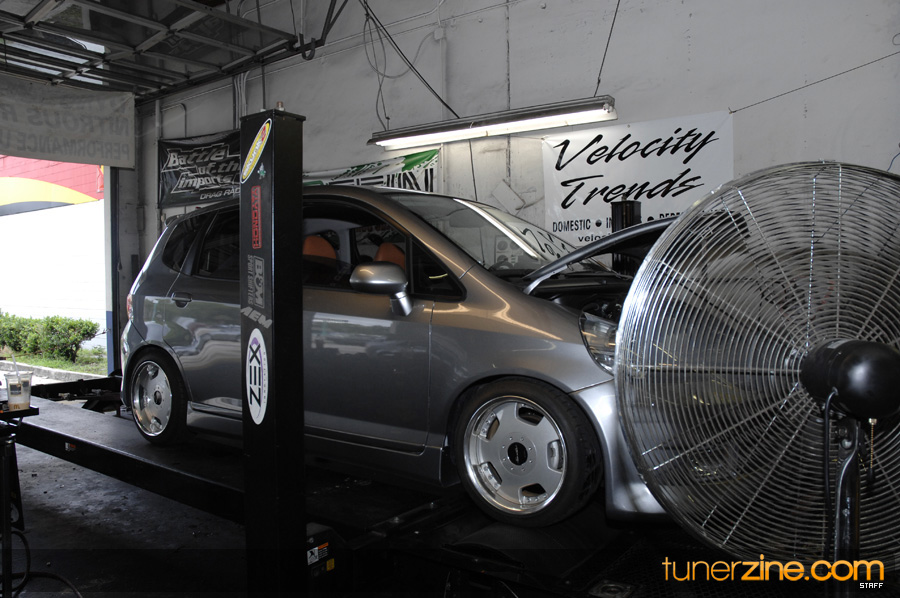
36 A comparison of stock and zex’s colder plugs.
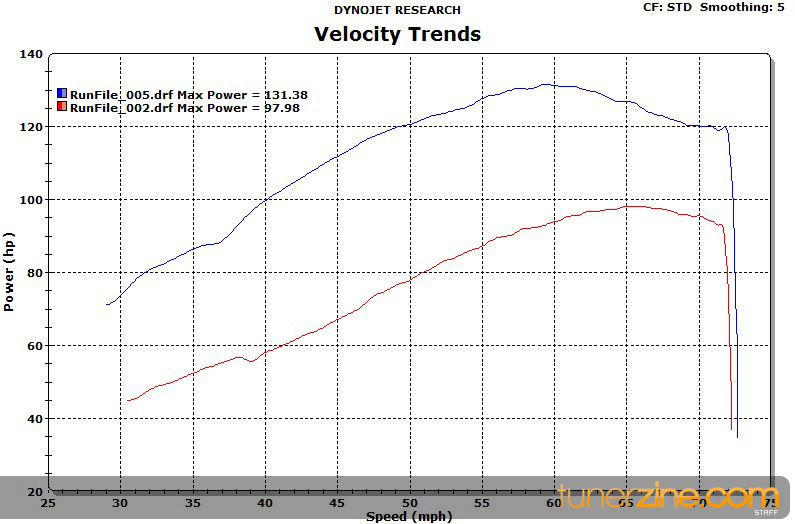
37 Once everything is connected up, we head over to Velocity Trends for dyno runs. Make sure to fill up with high octain fuel and Top off the nitrous and your ready to roll.
38 Here’s our dyno run, and after couple runs we netted a solid 33hp gain at the wheels on a 45hp shot! Just be careful, Nitrous can be addicting 🙂
Gallery