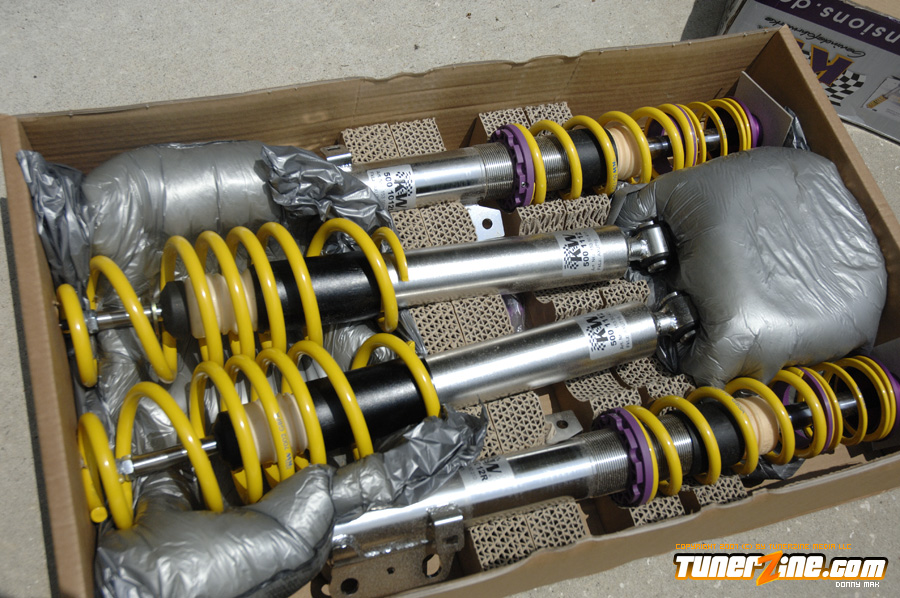
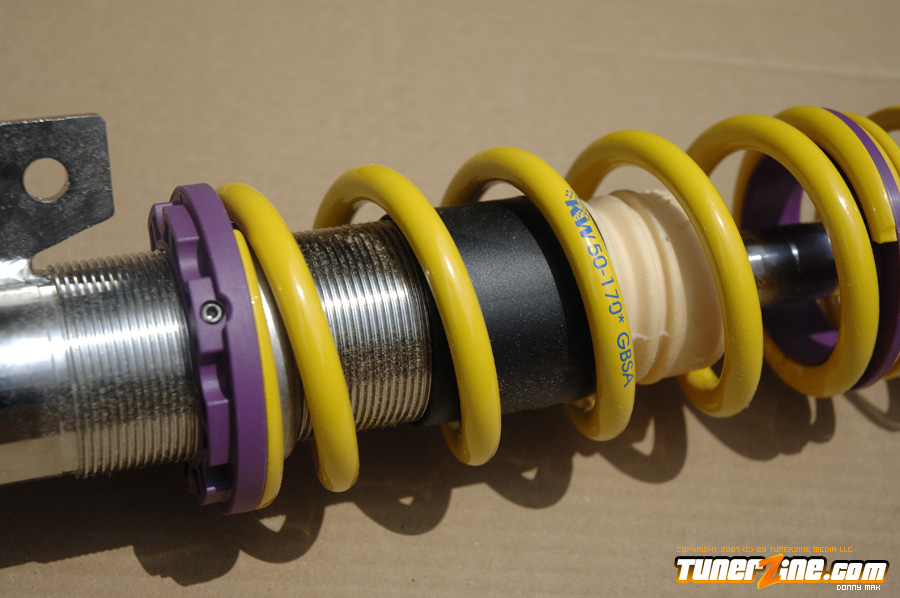
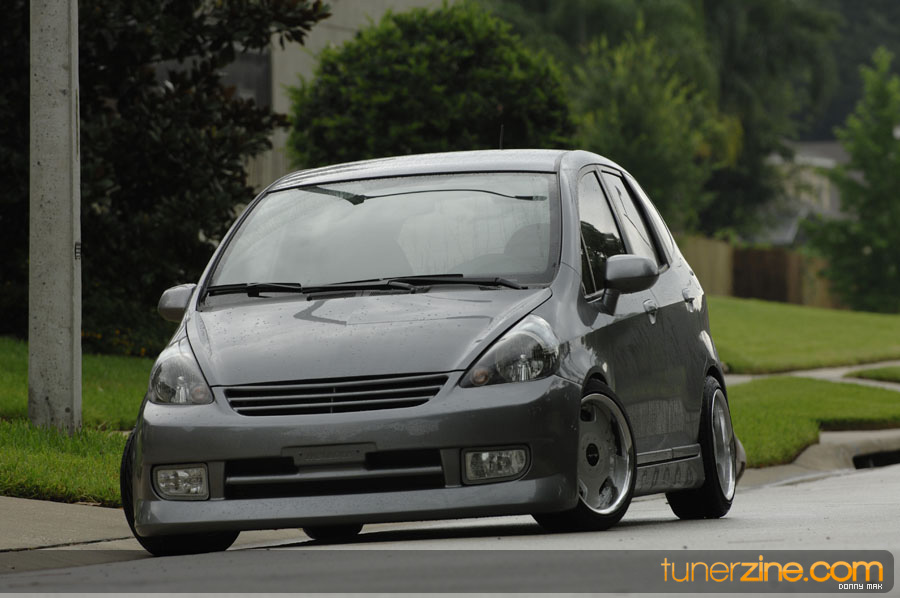
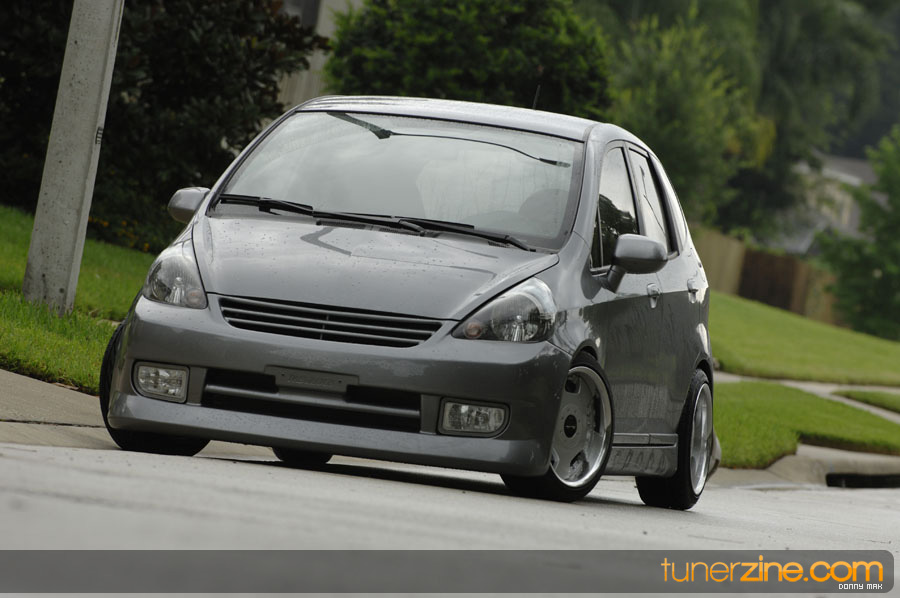
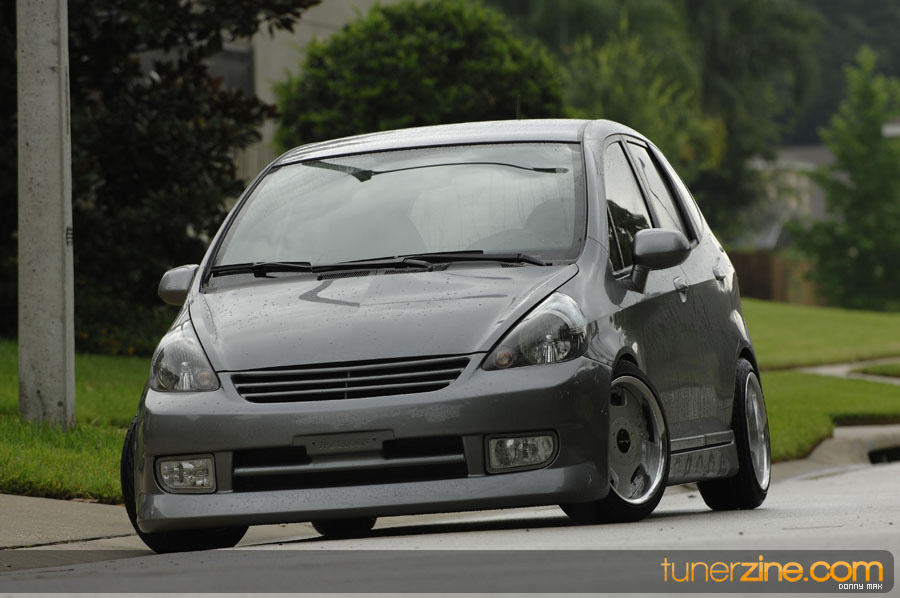
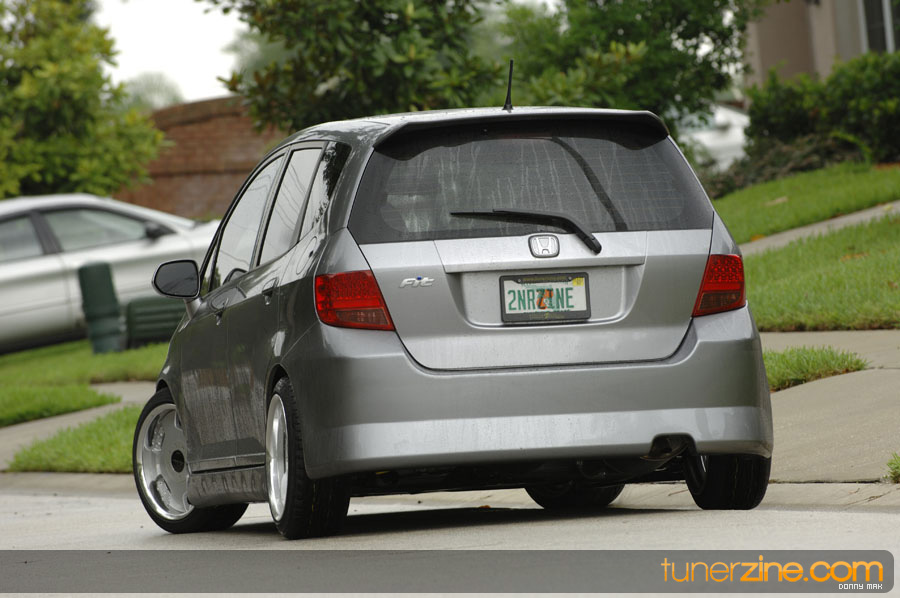
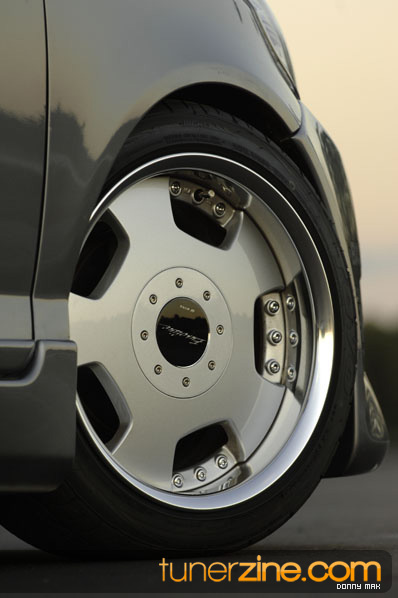
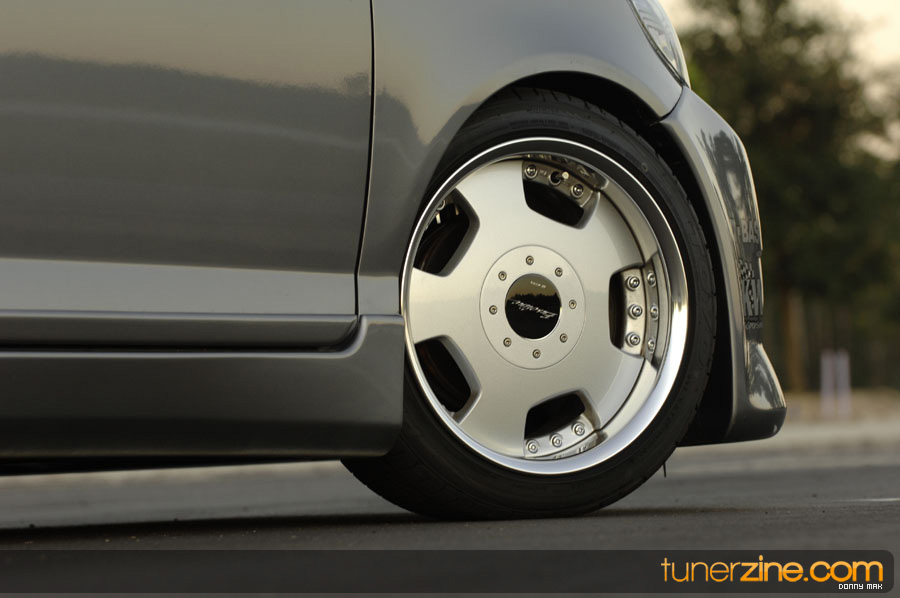
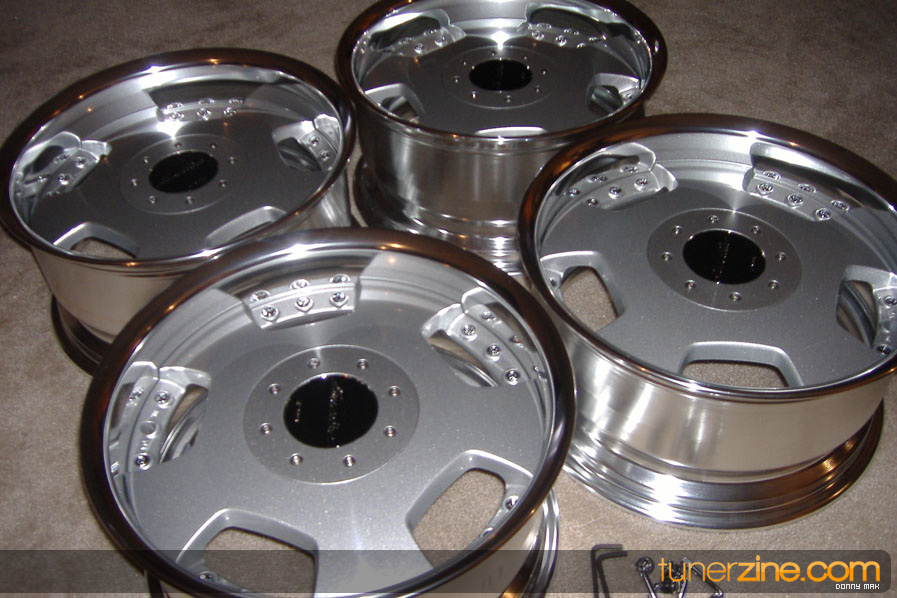
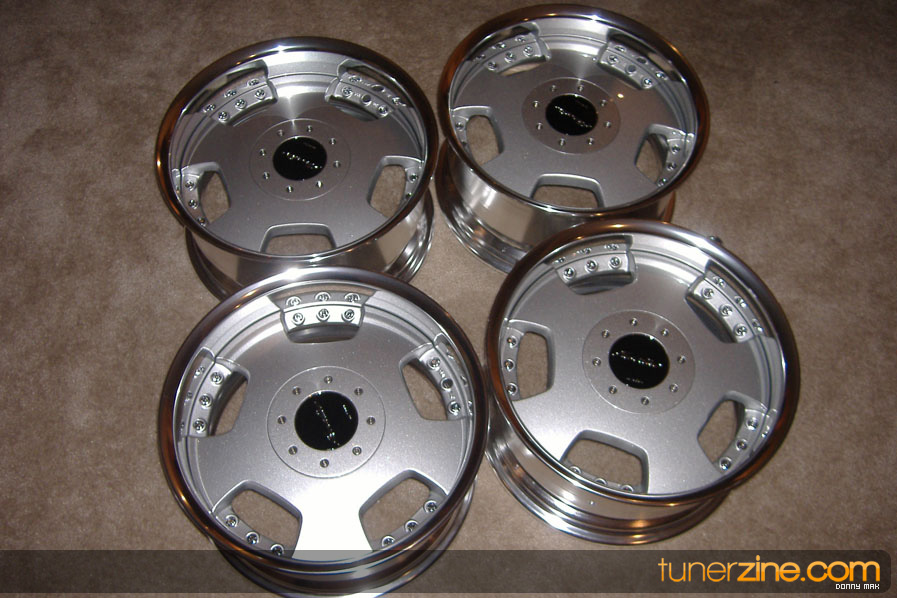
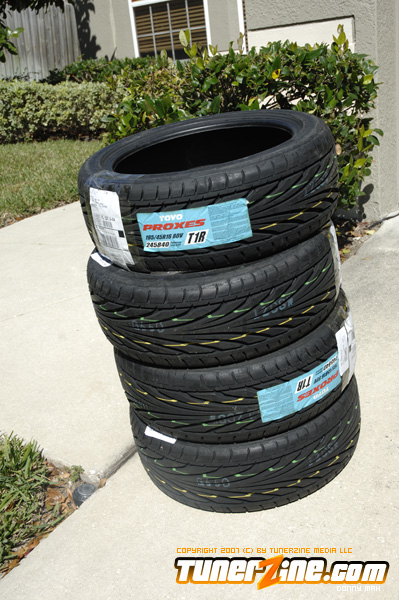
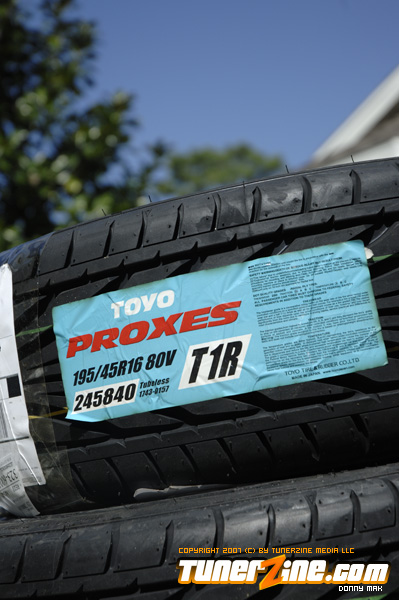
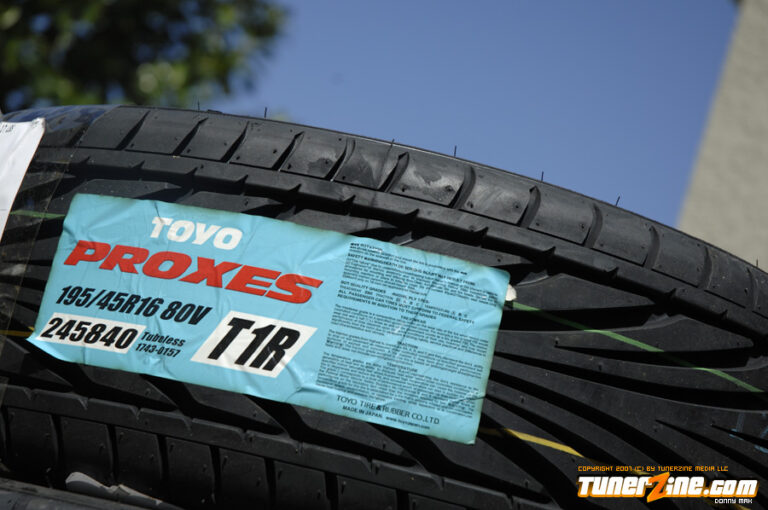
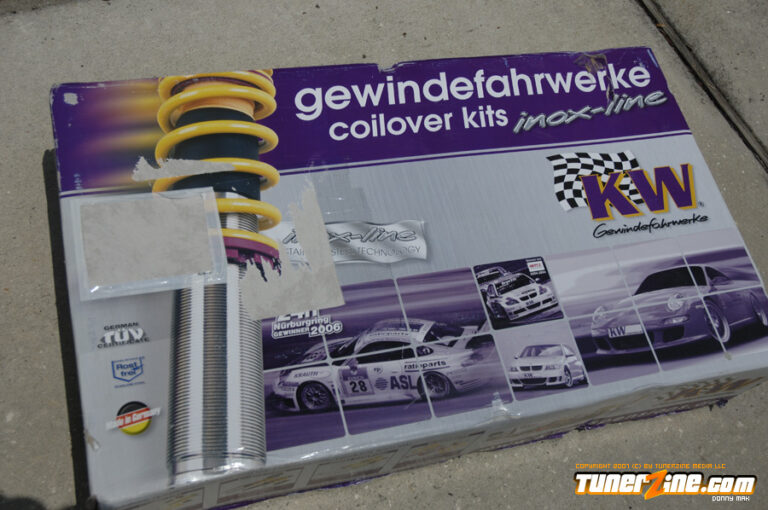
For this portion of our Tunerzine Project Honda Fit, we take a look at a crucial part of any build: the suspension, wheels and tires setup. To get the stance and ride quality we wanted out of our daily driven project, we decided to go with none other than KW Coilovers in their Variant 2 version. The Variant 2 KW coilovers come with full damping adjustability and utilizes their inox-line stainless steel technology. Best of all, each coilover allows us to adjust the height on each corner to give our Fit the perfect stance. Once we achieved the stance and handling performance we were looking for we addressed the issue of wheel fitment and tire sizing. Since we were matching the rest of the car with a Fabulous body kit, a VIP style wheel was needed and the search ended with Work Wheels’ Euroline DH model. Its full face and massive lip for a 16×8 wheel was just what we needed to achieve the look we desired. Each wheel has been mounted with high quality rubber from Toyo Proxes T1R in a 195/45/16 variety. We’d like to send a special thanks out to the folks at www.hybrid-performance.com for allowing us to use their facility and lending a helping hand for the installation.
Thanks to our Sponsors:
Zeta Products, BASF, KW Suspensions, Toyo Tires, Hybrid Performance, Fabulous, GT Spec
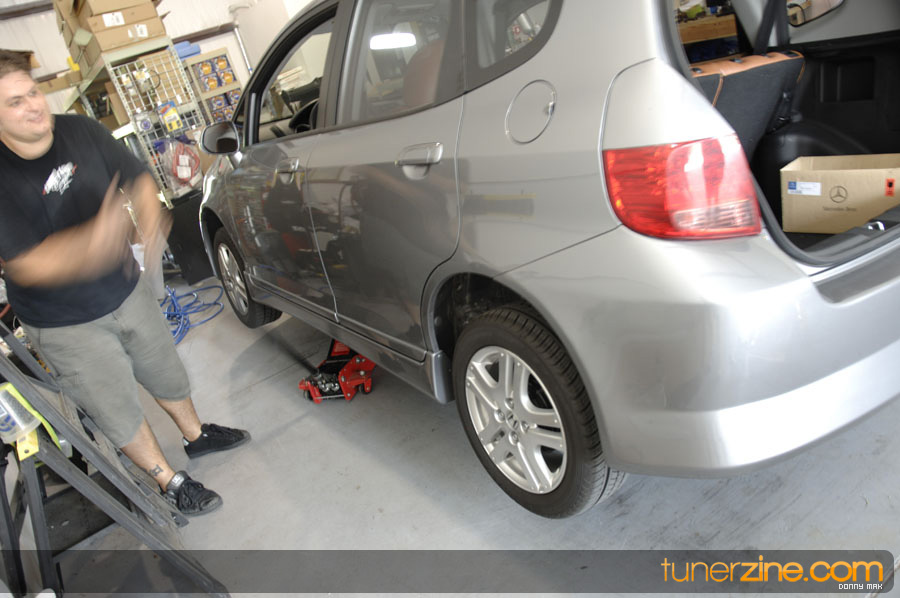
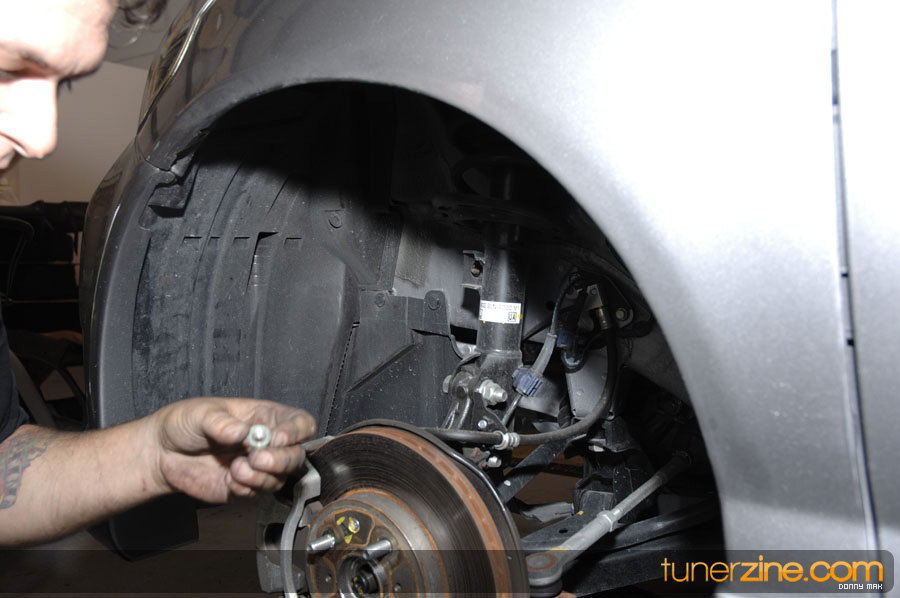
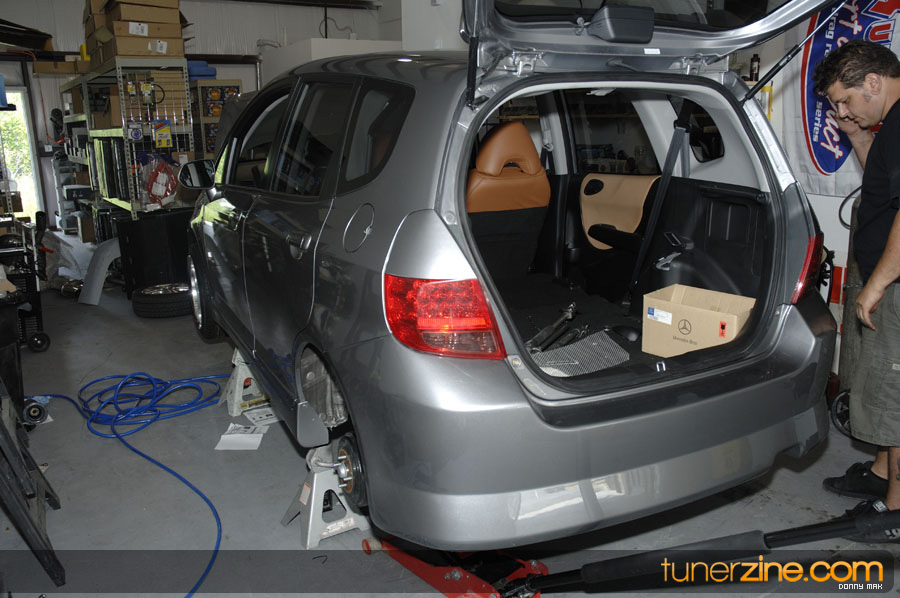
The first step in the installation was to jack up the car and secure it on jackstands. We then removed all four wheels to get easy access to the suspension.
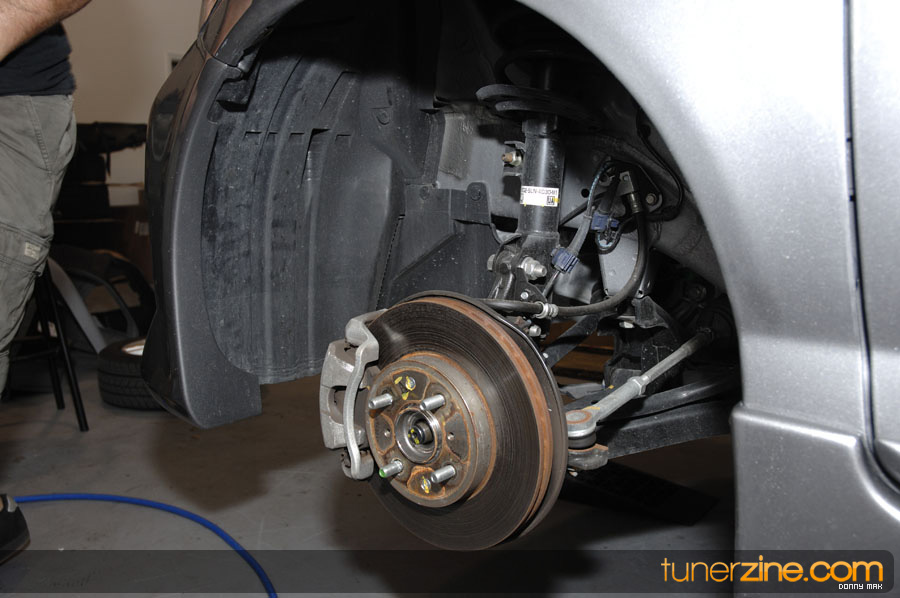
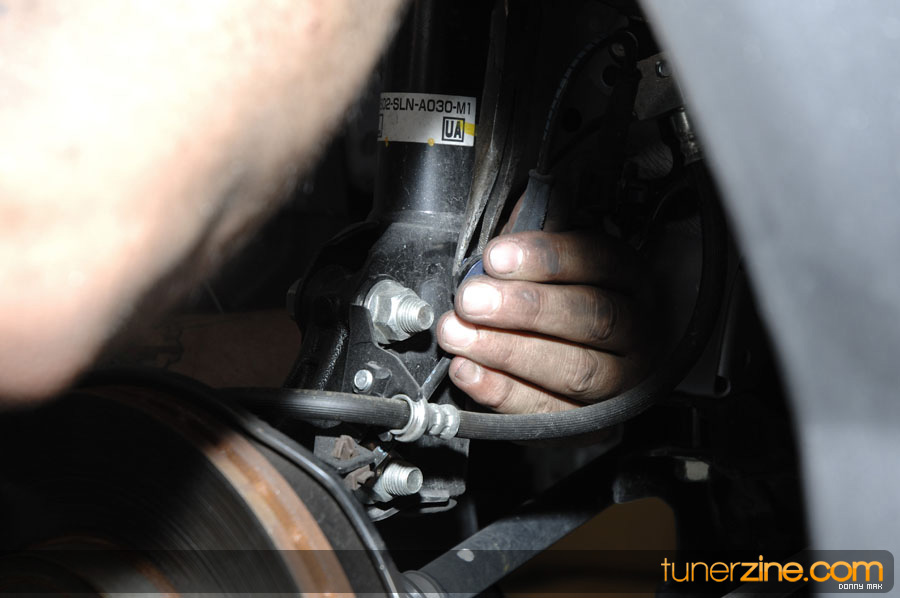
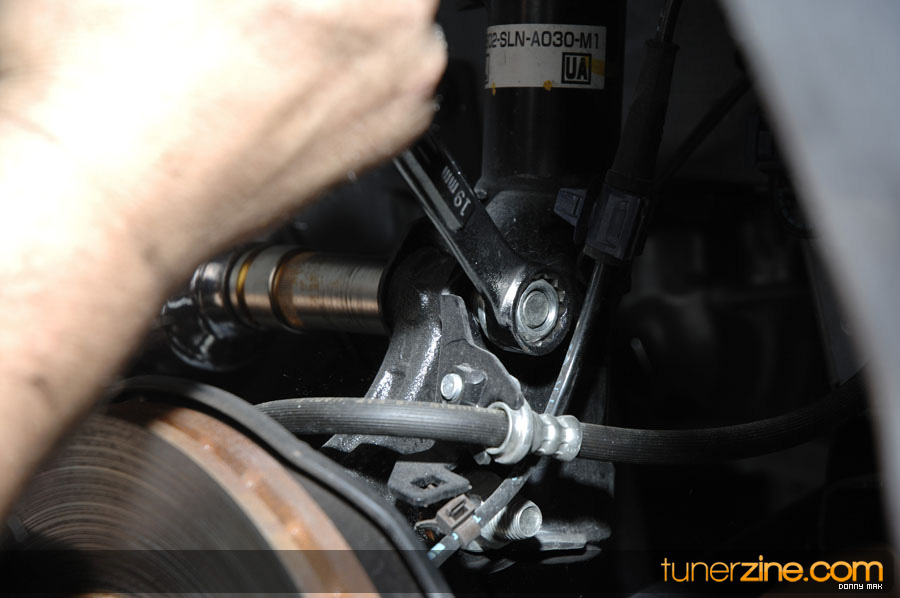
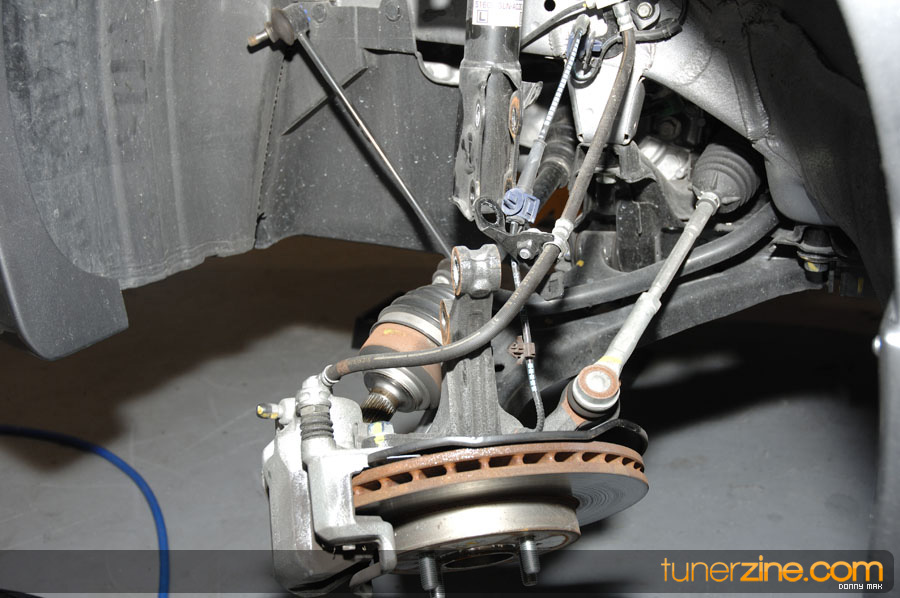
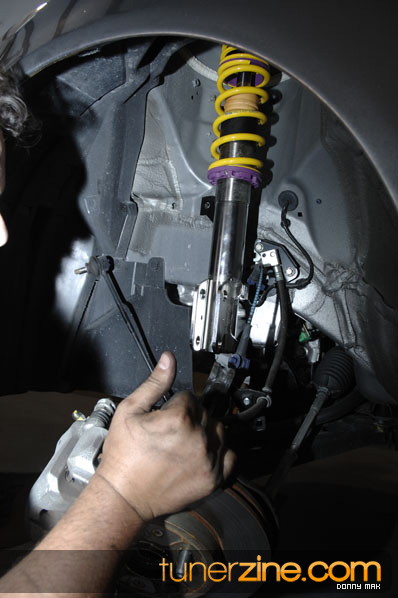
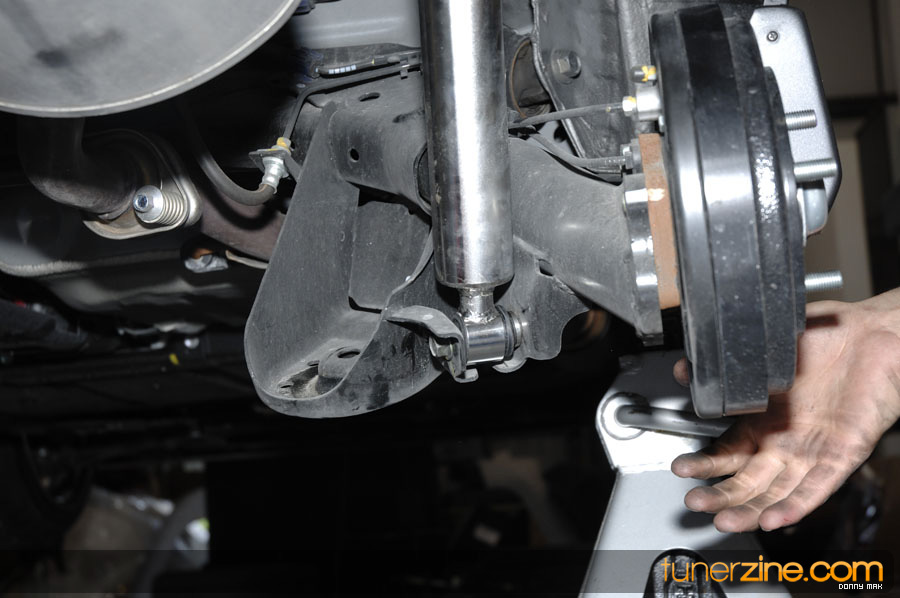
Taking a look at the front suspension assembly, there are a pair of nuts and bolts that need to be removed to safely remove the front strut and spring combination from the vehicle.
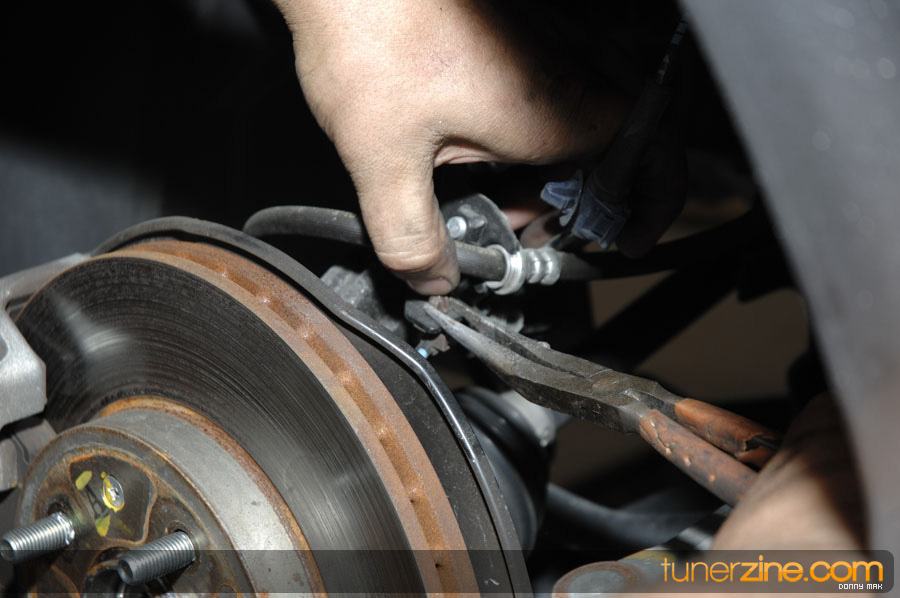
We then safely removed the clip to adjust the position of the brake line in anticipation of removing the front suspension.
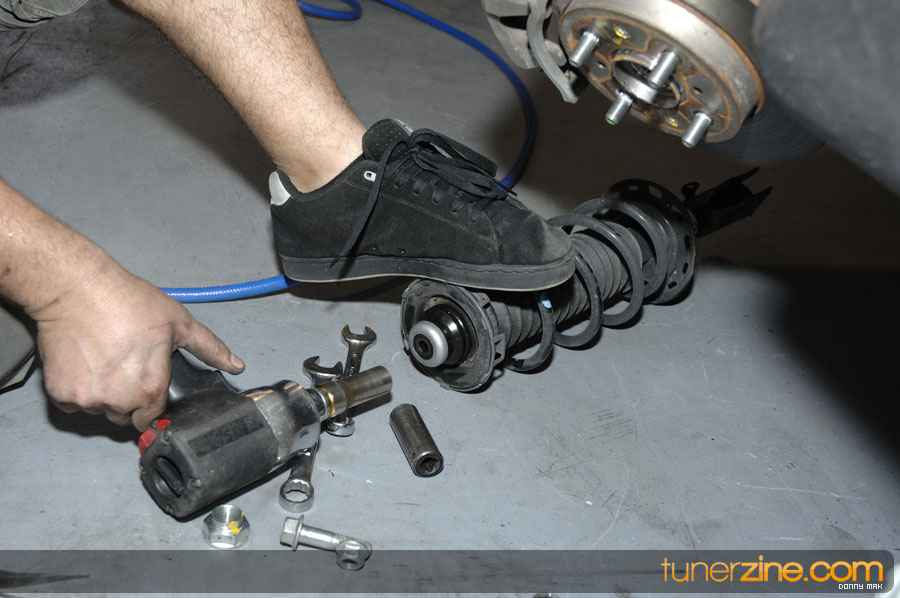
Here’s a look at how everything looks disassembled.
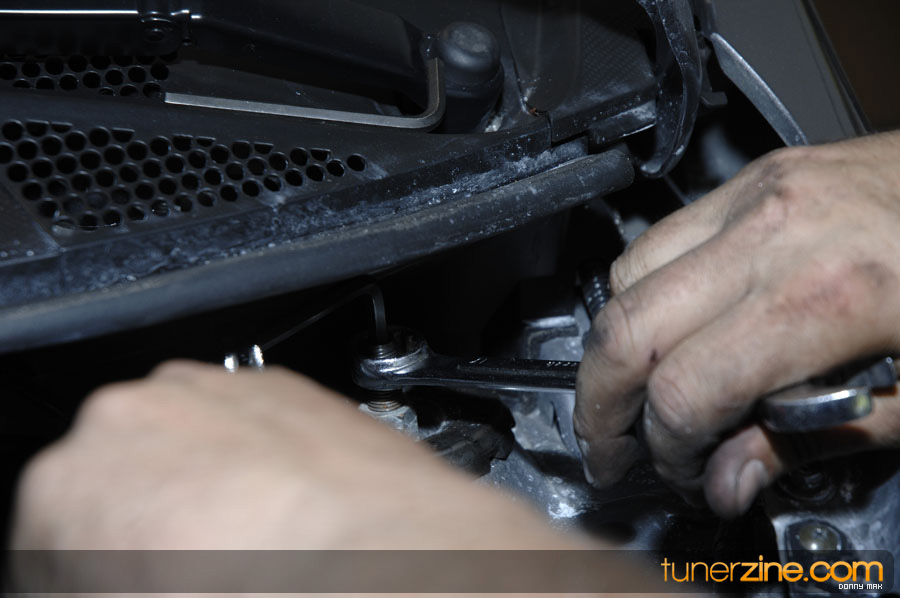
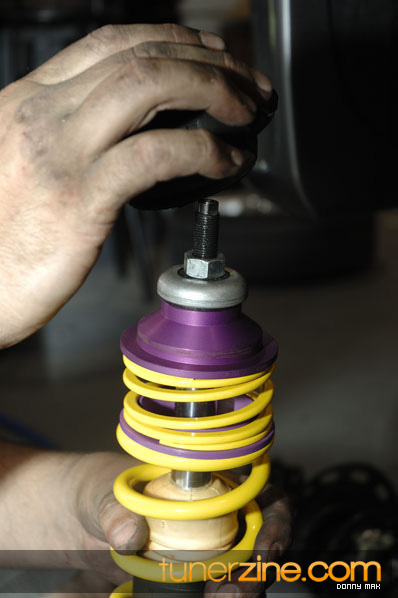
We then went to the top and removed the nuts holding the strut in place..
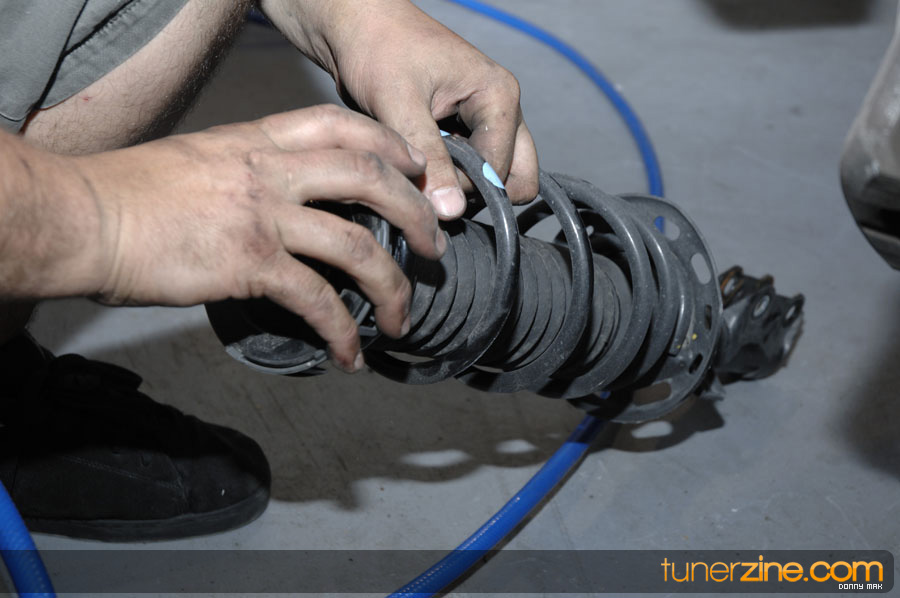
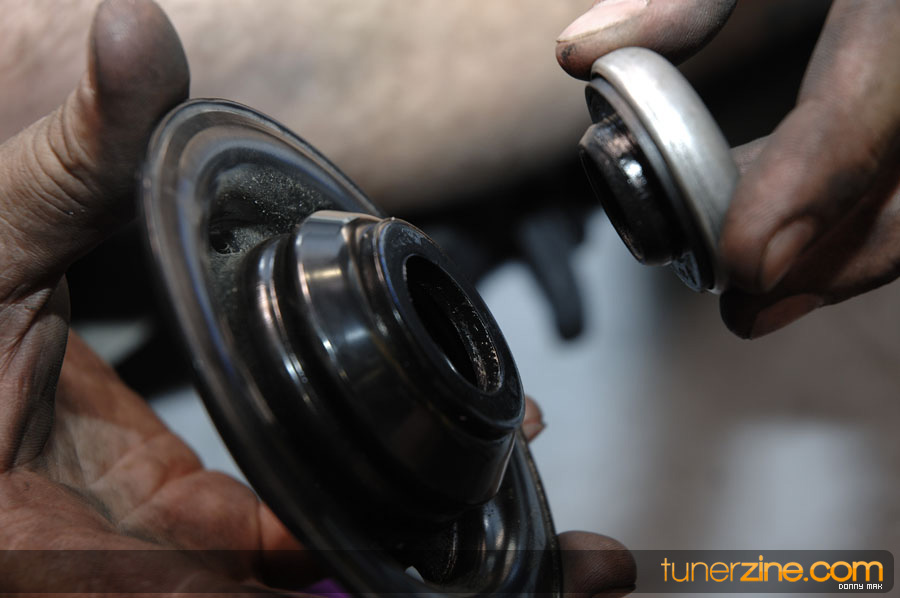
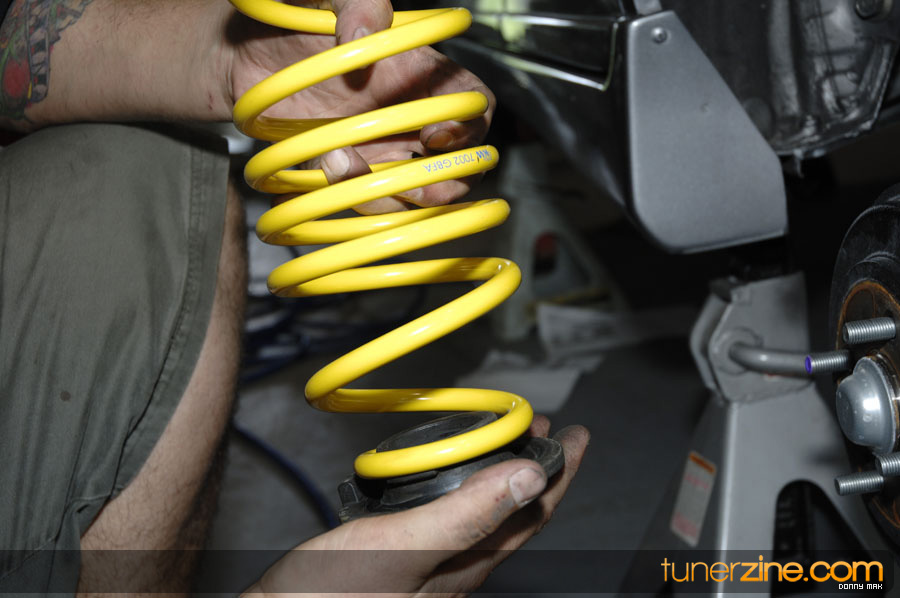
Once the front strut and spring assembly was removed, we removed the top mount to be used in the new KW coilovers assembly.
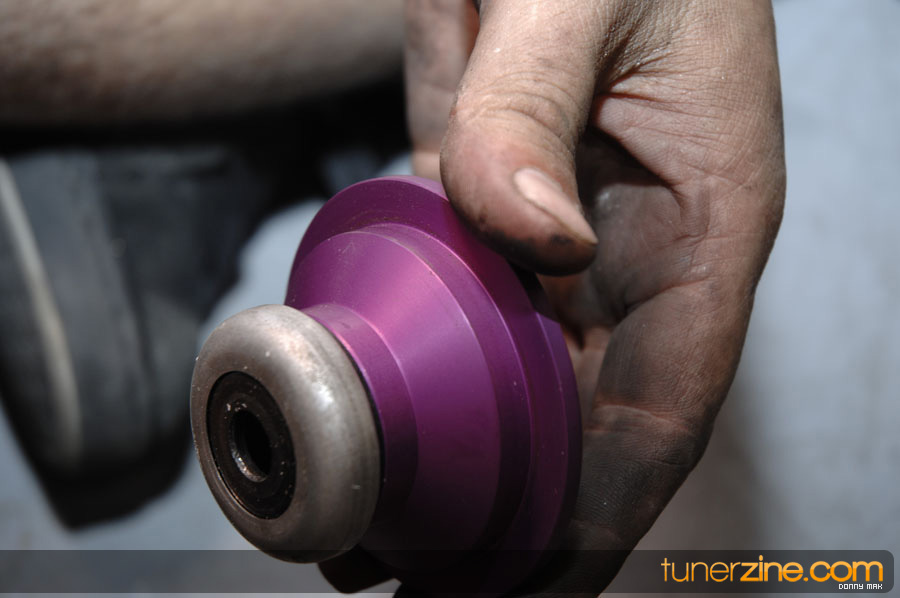
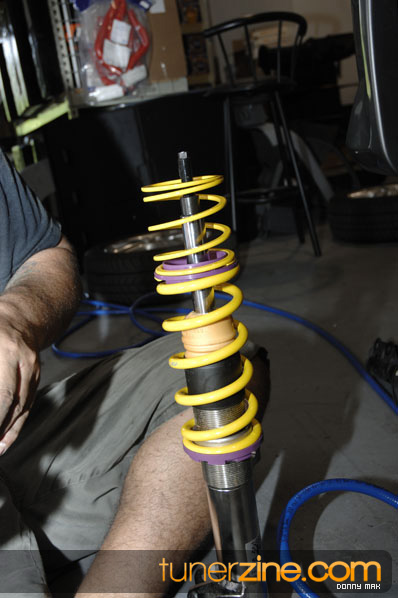
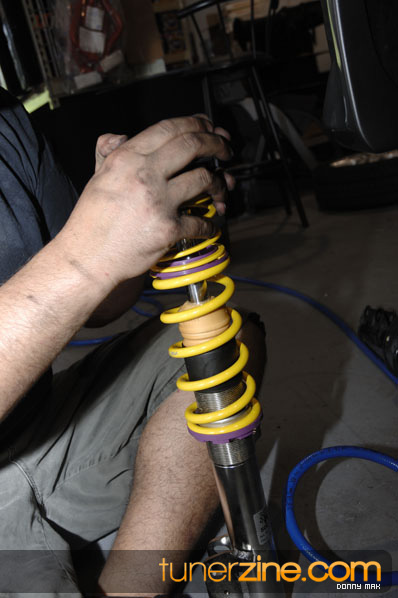
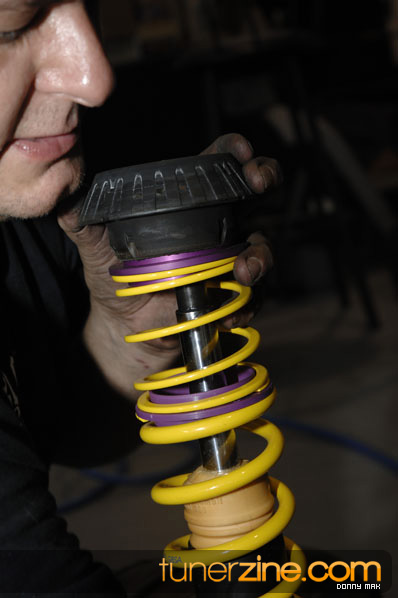
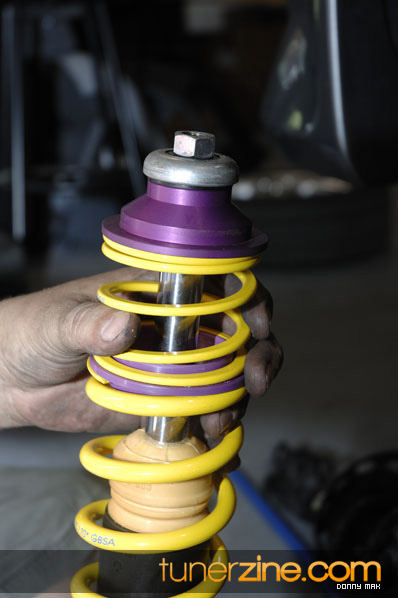
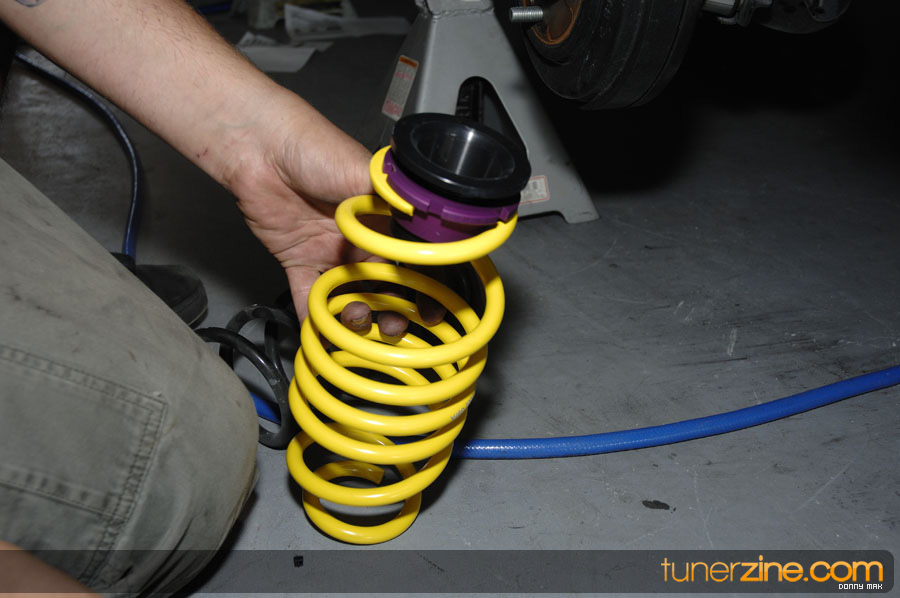
The KW coilovers comes complete with everything needed including a new top hat.
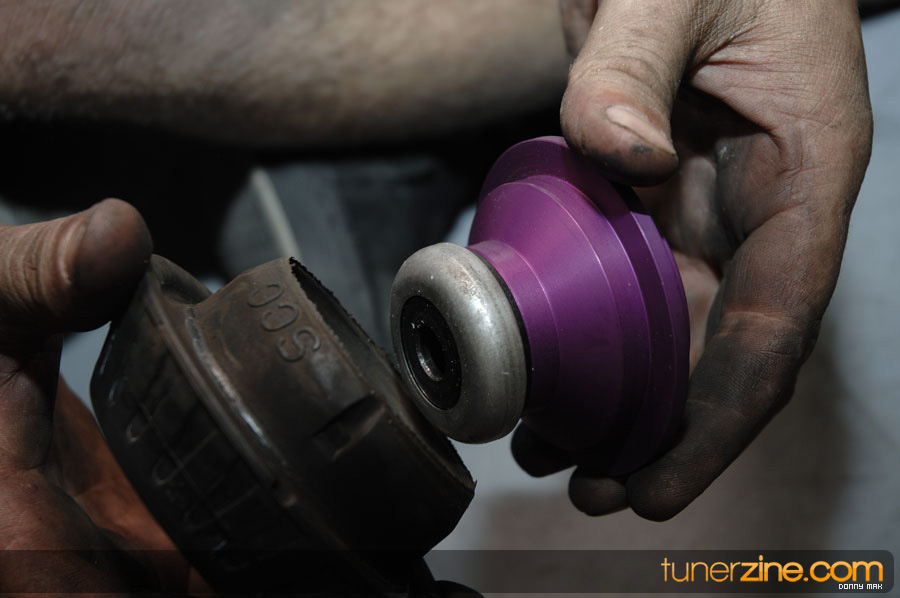
The only factory piece to be reused is the rubber top mount.
10
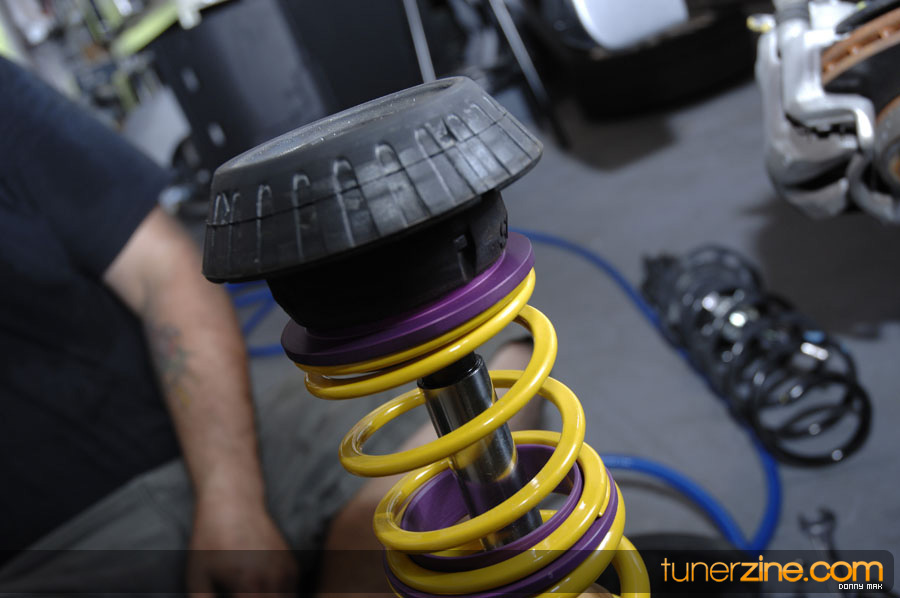
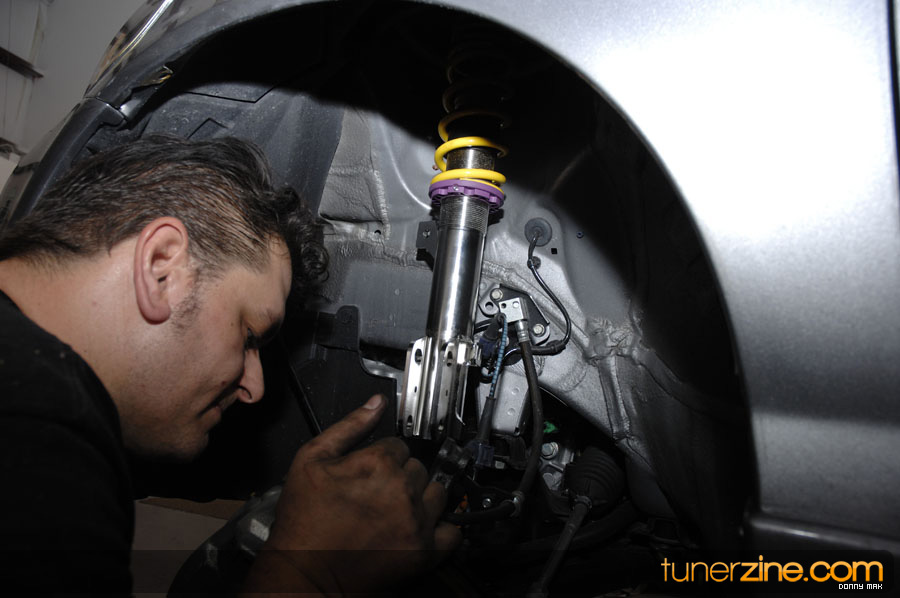
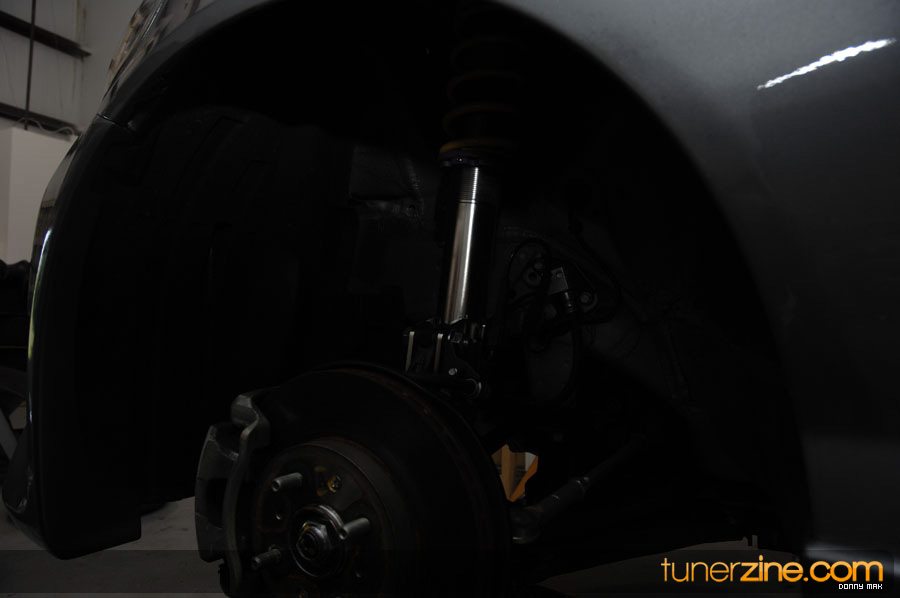
We retraced our steps backwards to safely reinstall the new KW suspension in the front.
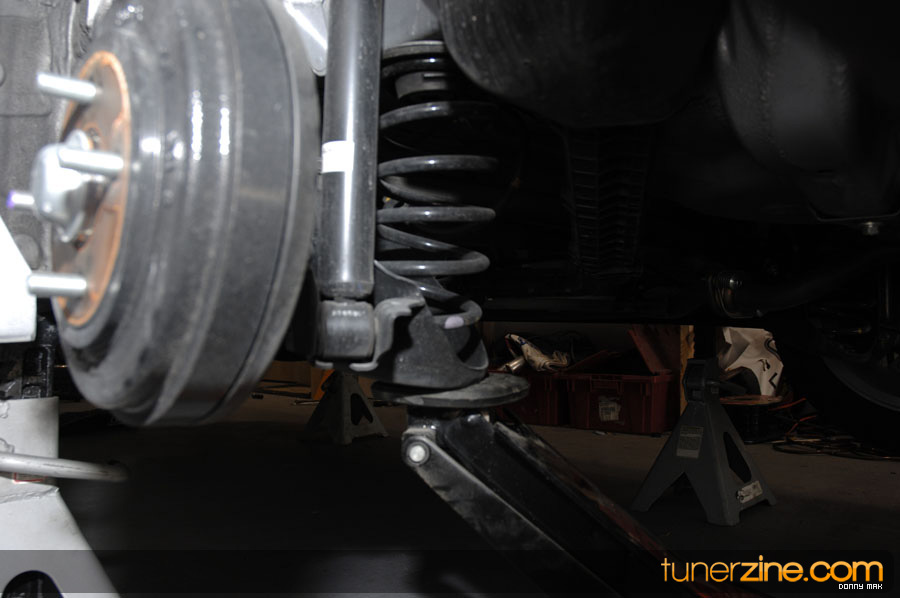
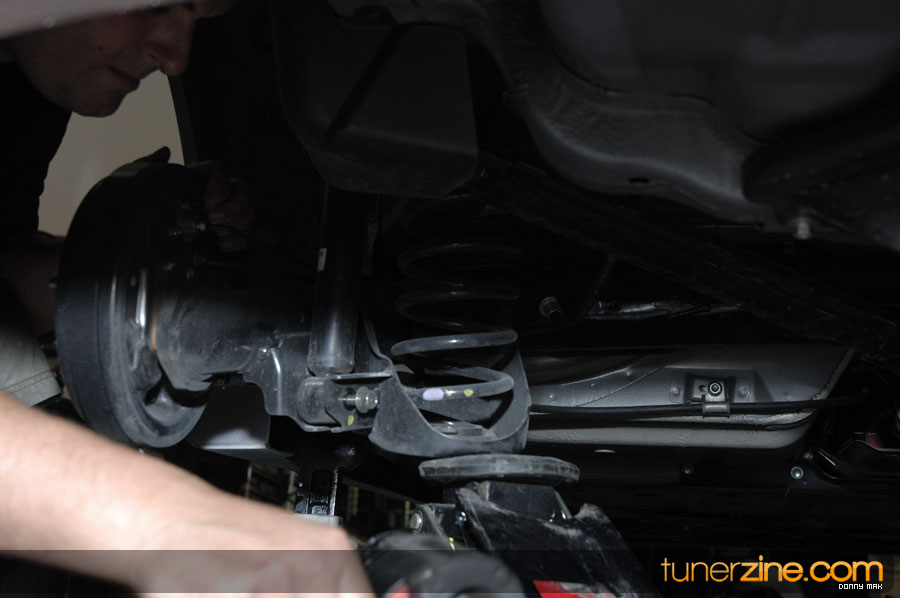
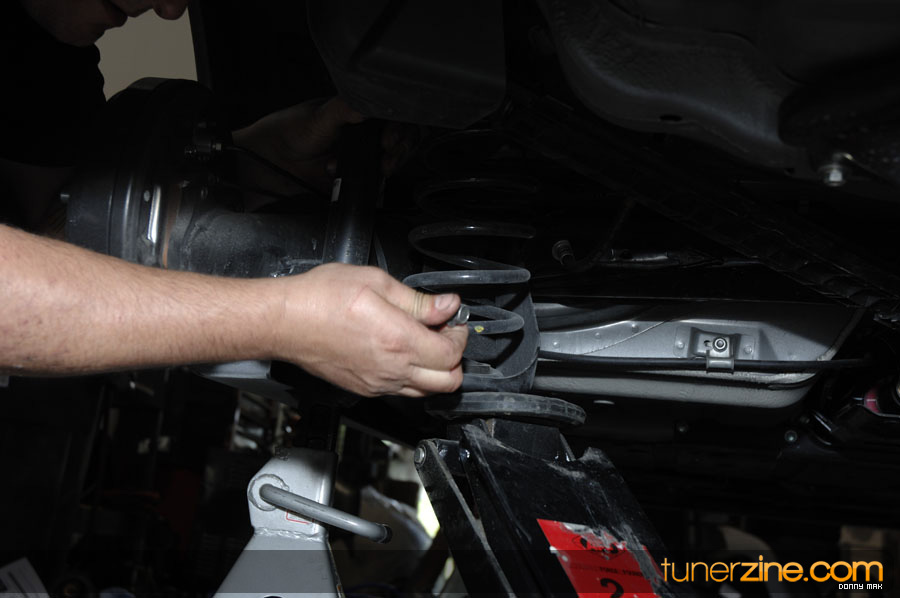
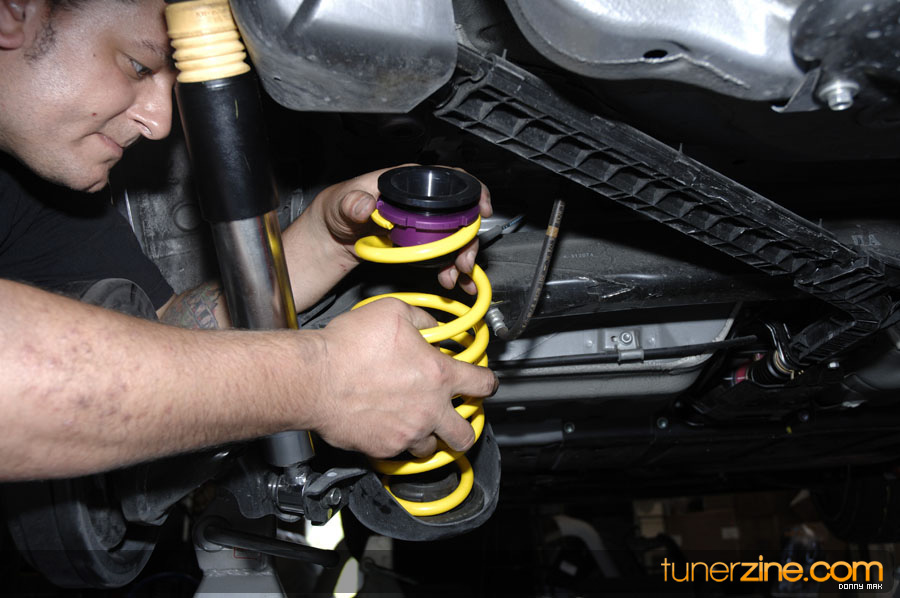
Taking a look at the rear, it was drastically easier as the spring and strut are separate. Removal of the spring was with ease.
11
12
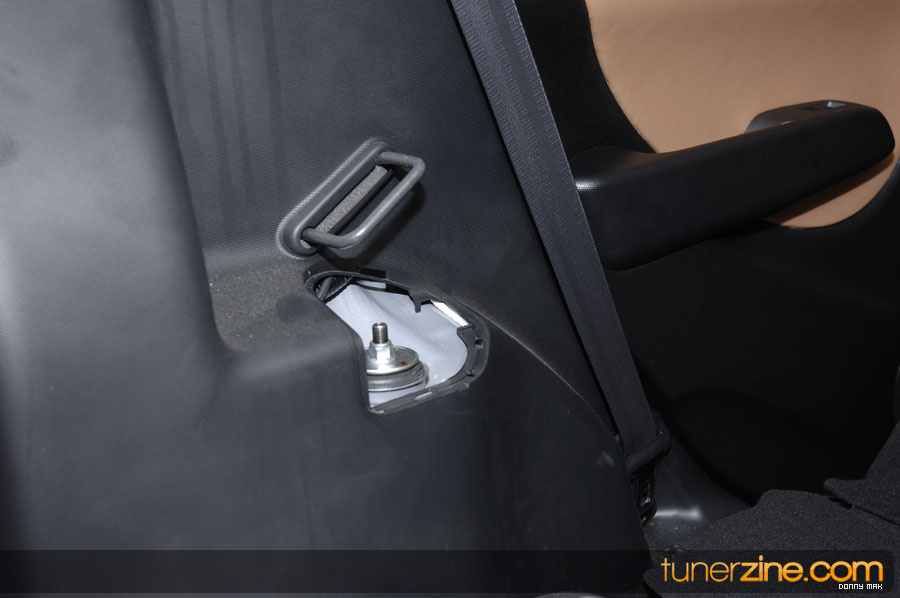
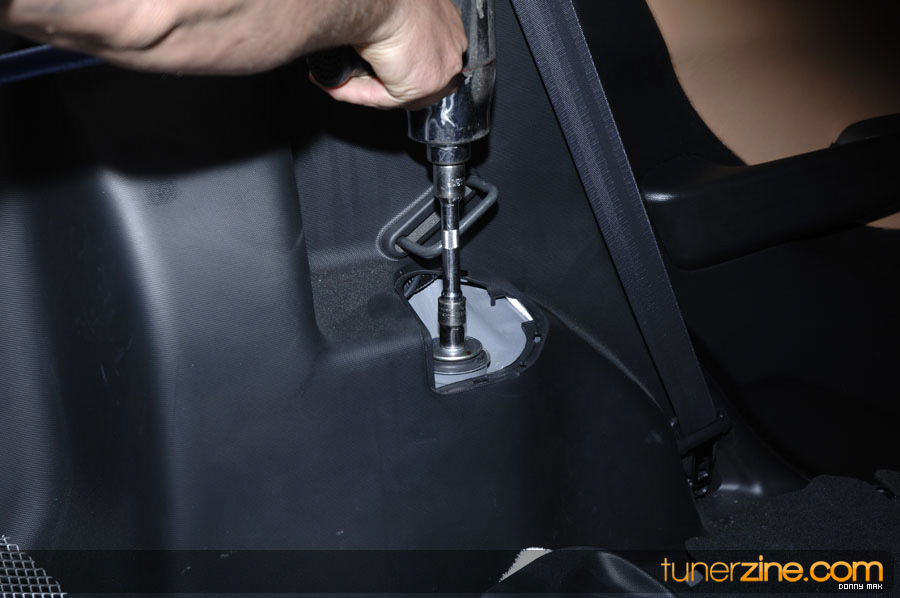
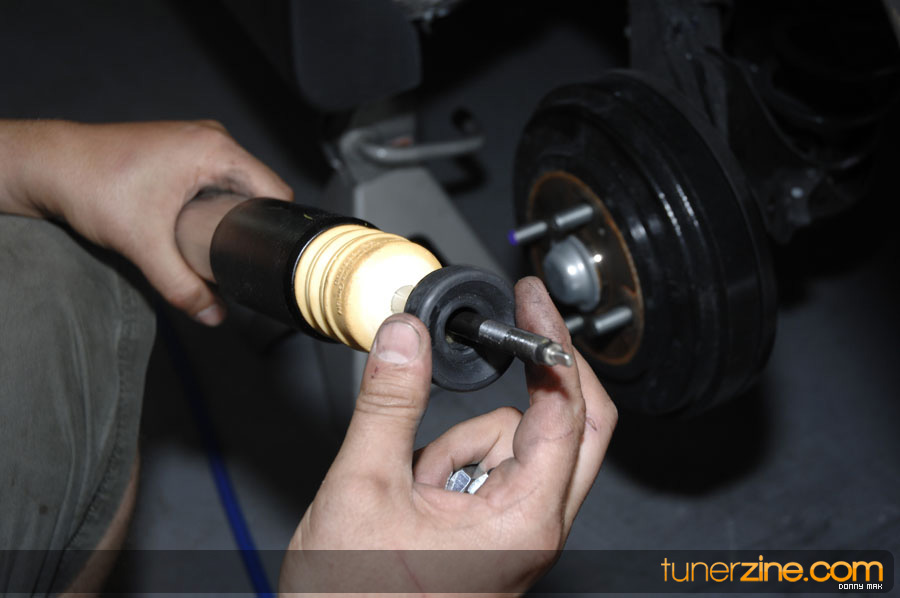
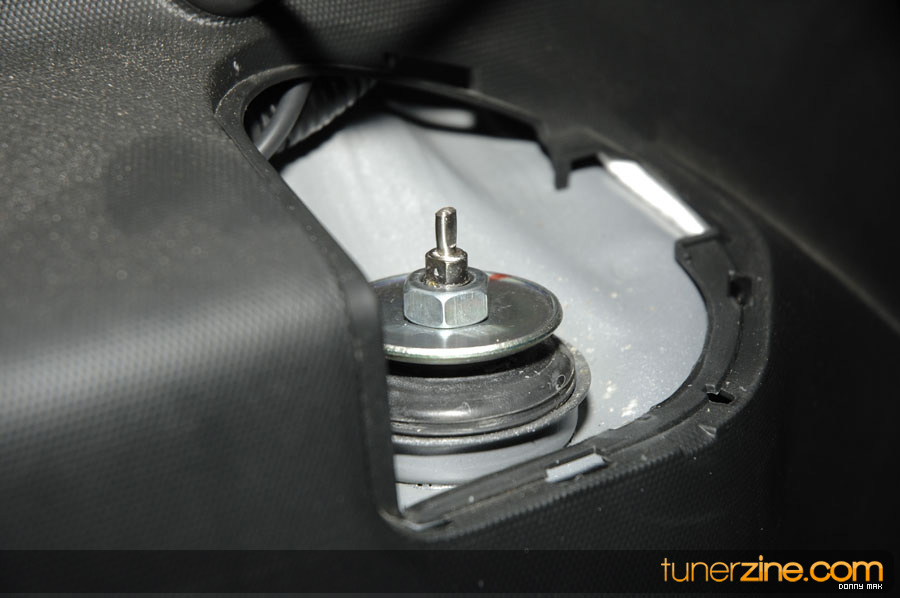
We then went into the trunk to loosen up the top nut and then removed the stock rear shock from the bottom.
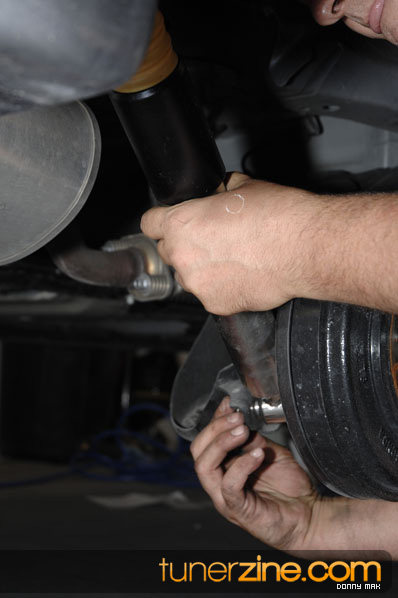
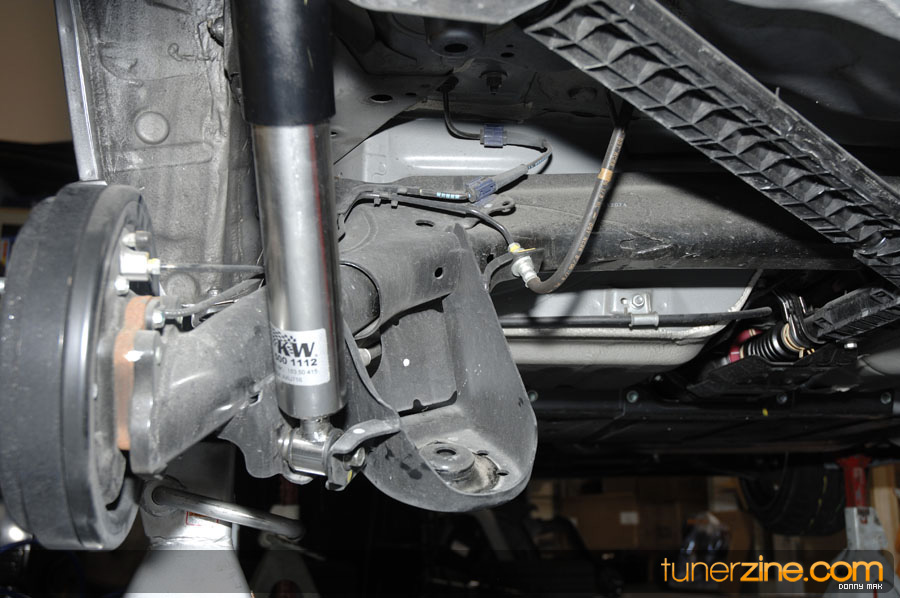
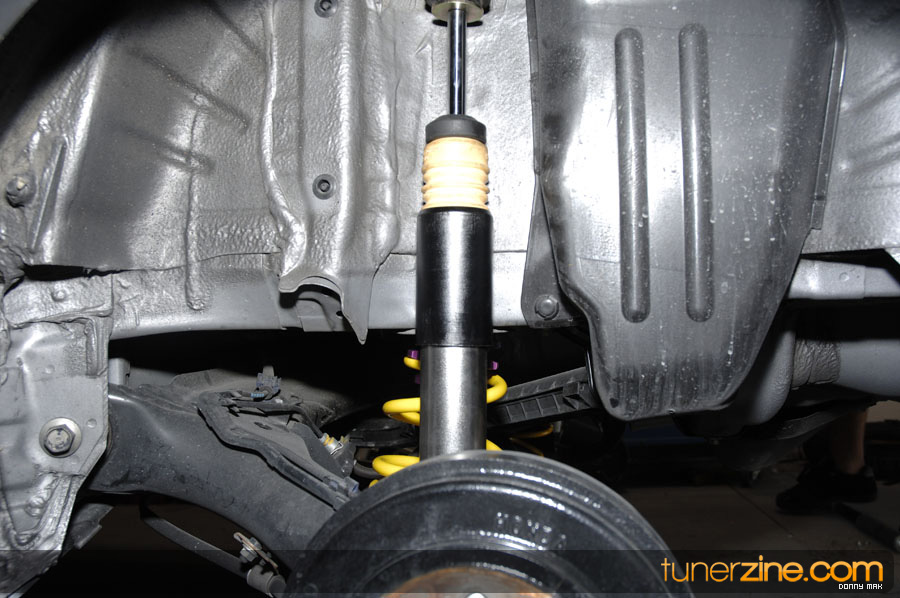
Here’s a look at the new KW rear shock in place.
13
14
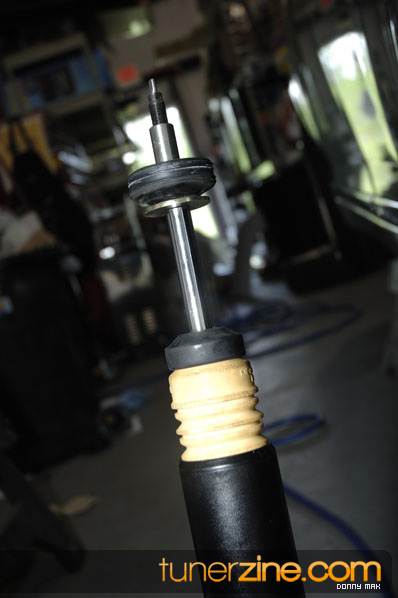
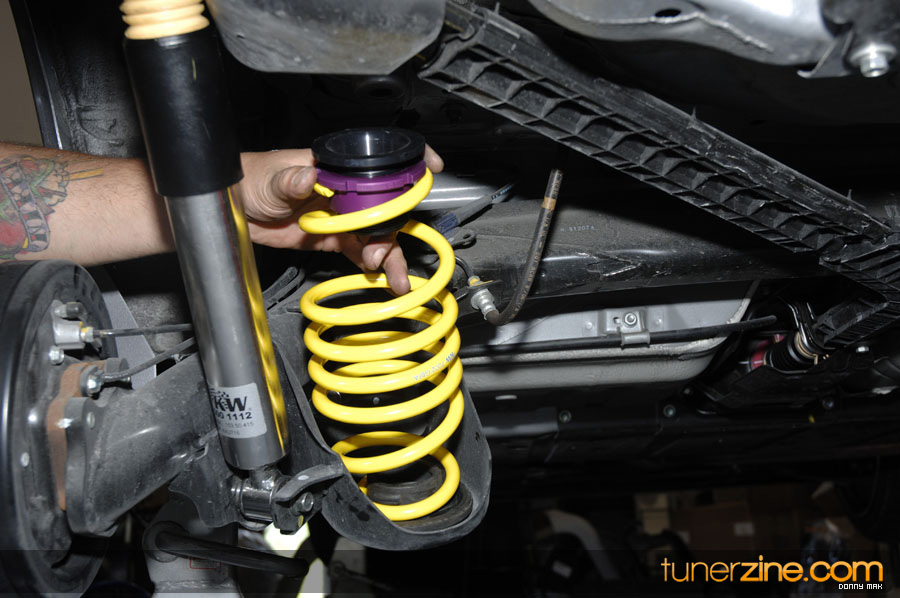
A picture of the rear KW coilover assembly with full adjustability.
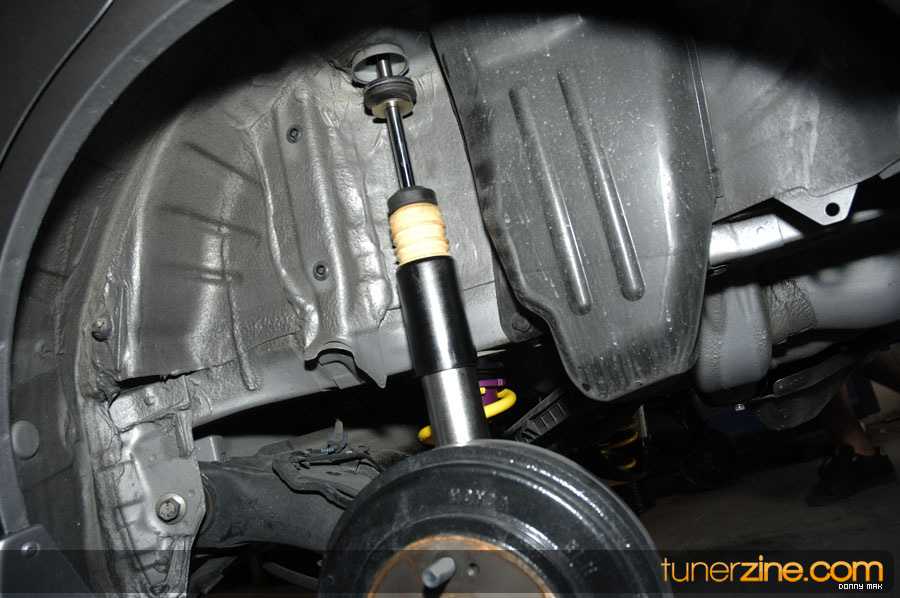
A closer look at the rear shock all back in place and ready to roll!
Gallery